Cargo-Planner Docs
Integration
If you already have digital tools to manage what’s stored in your warehouse, or how you handle customer loadlists, Cargo-Planner can build on top of that with a bit of integration.
Cargo Library Synchronization
The simplest way to get an integration going with your current tools is through the Cargo Library. All Cargo-Planner licenses include the Cargo Library, which is essentially a minimal WMS or resource planning system.
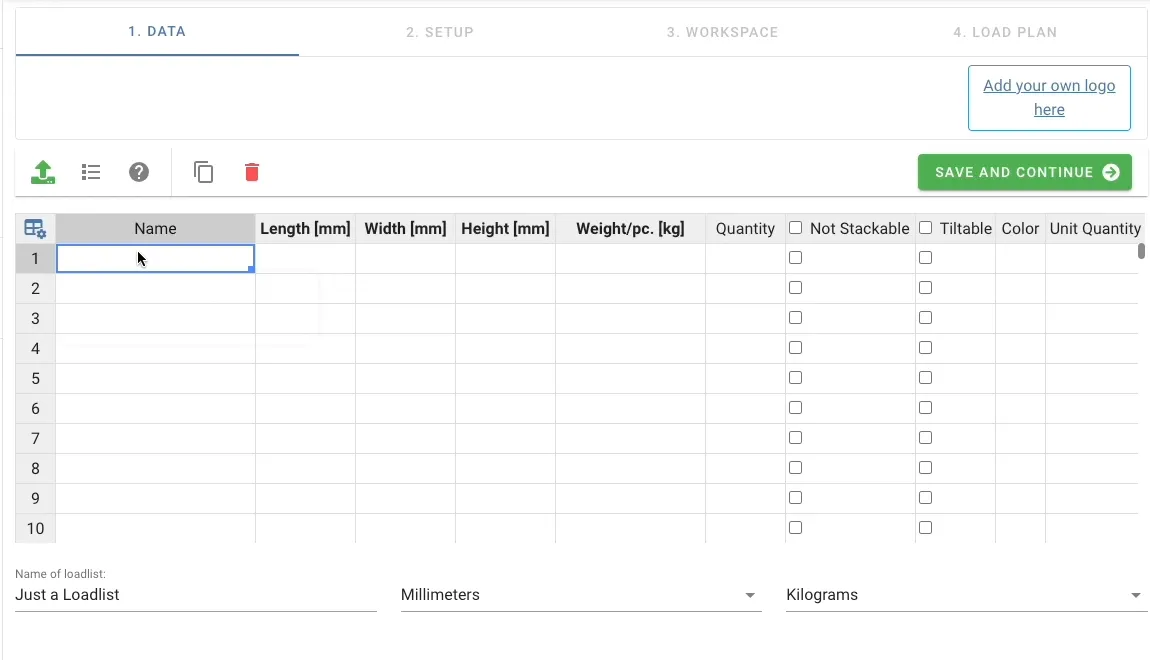
Having it set up makes it easy to create new loadlists in our web app, through smooth imports or auto-completion.
This method can essentially be run as a CRON-job or daily sync, and Cargo-Planner will take care of all UI aspects of creating a loadlist.
But getting the Cargo Library set up manually can be quite a task. So let’s keep it in sync with whatever tool you currently use, with a little bit of code.
// Check the Getting Started page to find out how to create your token
const API_TOKEN = 'Token b123...';
const cargoes: CargoPlannerItem[] = [];

// let's pretend we have a source of items/cargoes that looks like this,
// where everything is defined in millimeters and grams.
const sourceItems = [
  {
    id: 511732,
    title: 'Basket Catcher',
    description: '...',
    length: 900,
    width: 900,
    height: 500,
    weight: 20000,
    inner_quantity: 1,
  },
  {
    id: 512789,
    title: 'Putters (10pcs)',
    description: '...',
    length: 210,
    width: 210,
    height: 150,
    weight: 1700,
    inner_quantity: 10,
  },
  // ... etc
];

// Our sourceItems is a little bit different
// from how it's represented in cargo-planner
// so we need to do some adaption of the data
for (let i = 0; i < sourceItems.length; i++) {
  let s = sourceItems[i];
  // we want both our ID and title stored as the name
  const title = `${s.id} - ${s.title}`;

  let cargo: CargoPlannerItem = {
    name: title,
    length_dim: 'MM',
    // Cargo-Planner doesn't accept grams, so we convert to kilograms
    weight_dim: 'KG',
    data: {
      label: title,
      l: s.length,
      w: s.width,
      h: s.height,
      wt: s.weight / 1000, // the weight conversion
      unit_qty: s.inner_quantity,
    },
  };
  cargoes.push(cargo);
}

// Before we create all the items we first want
// remove everything that exists in the cargo-library,
// so we won't have any duplicates.
// Let's use the cargo/truncate endpoint for this
fetch('https://api.cargo-planner.com/api/2/cargo/truncate/', {
  method: 'POST',
  headers: {
    'Content-Type': 'application/json',
    Authorization: API_TOKEN,
  },
  body: JSON.stringify({ confirm: true }),
});

// And finally we bulk-create the list of cargoes
fetch('https://api.cargo-planner.com/api/2/cargo/bulk_create/', {
  method: 'POST',
  headers: {
    'Content-Type': 'application/json',
    Authorization: API_TOKEN,
  },
  body: JSON.stringify(cargoes),
});

// simplified type definitions of what Cargo-Planner accepts
interface CargoPlannerItem {
  name: string;
  data: ItemData;
  length_dim: 'M' | 'DM' | 'CM' | 'MM' | 'FT' | 'IN';
  weight_dim: 'KG' | 'MT' | 'LB';
}
interface ItemData {
  label: string;
  l: number;
  w: number;
  h: number;
  wt: number;
  not_stackable?: boolean | null;
  not_rotatable?: boolean | null;
  tiltable?: boolean | null;
  bottom_only?: boolean | null;
  color?: string | null;
  qty?: number | null;
  unit_qty?: number | null;
}
Now, we won’t have to go through Excel imports/exports again, and planning the next shipment will be much faster.
Creating loadlists directly
If you want to create loadlists directly from your other tools, that’s not much different from the previous example in terms of API calls. This time we will skip the Cargo Library entirely and go straight for a new loadlist.
The downside of this method is that you need to choose what to ship, and how many of each before calling the API. This will most likely require a bit of UI.
// we are reusing the constants sourceItems and API_TOKEN
// from the previous example

let cargoes: ItemData[] = [];

// The conversion from sourceItem to Cargo-Planners representation
for (let i = 0; i < source.length; i++) {
  let s = source[i];
  // we want both our ID and title stored as the name
  const title = `${s.id} - ${s.title}`;

  let cargo: ItemData = {
    label: title,
    l: s.length,
    w: s.width,
    h: s.height,
    // the weight conversion from grams to kilograms
    wt: s.weight / 1000,
    unit_qty: s.inner_quantity,
    // we want to send 10 of each item
    qty: 10,
  };
  cargoes.push(cargo);
}

// And finally we create a loadlist
fetch('https://api.cargo-planner.com/api/2/loadlist/', {
  method: 'POST',
  headers: {
    'Content-Type': 'application/json',
    Authorization: API_TOKEN,
  },
  body: JSON.stringify({
    name: 'Shipment 123',
    data: cargoes,
    etd: '2022-12-01',
    length_dim: 'MM',
    weight_dim: 'KG',
  }),
});
The new loadlist will be visible in the webapp, but the response will contain a URL linking straight to the new loadlist.
It’s also possible to take this another step further with the Create and calculate endpoint, but this will require some more input data, such as what settings and equipment to use.