Cargo-Planner Docs
Modifying a load plan
Even though Cargo-Planner usually creates good to go load plans you might sometimes need to change and modify the generated result. Maybe your customer has special requirements of the chosen containers and cargo positions. That is why we have made it extremely easy to do that in Cargo-Planner.
Let us look at an example:
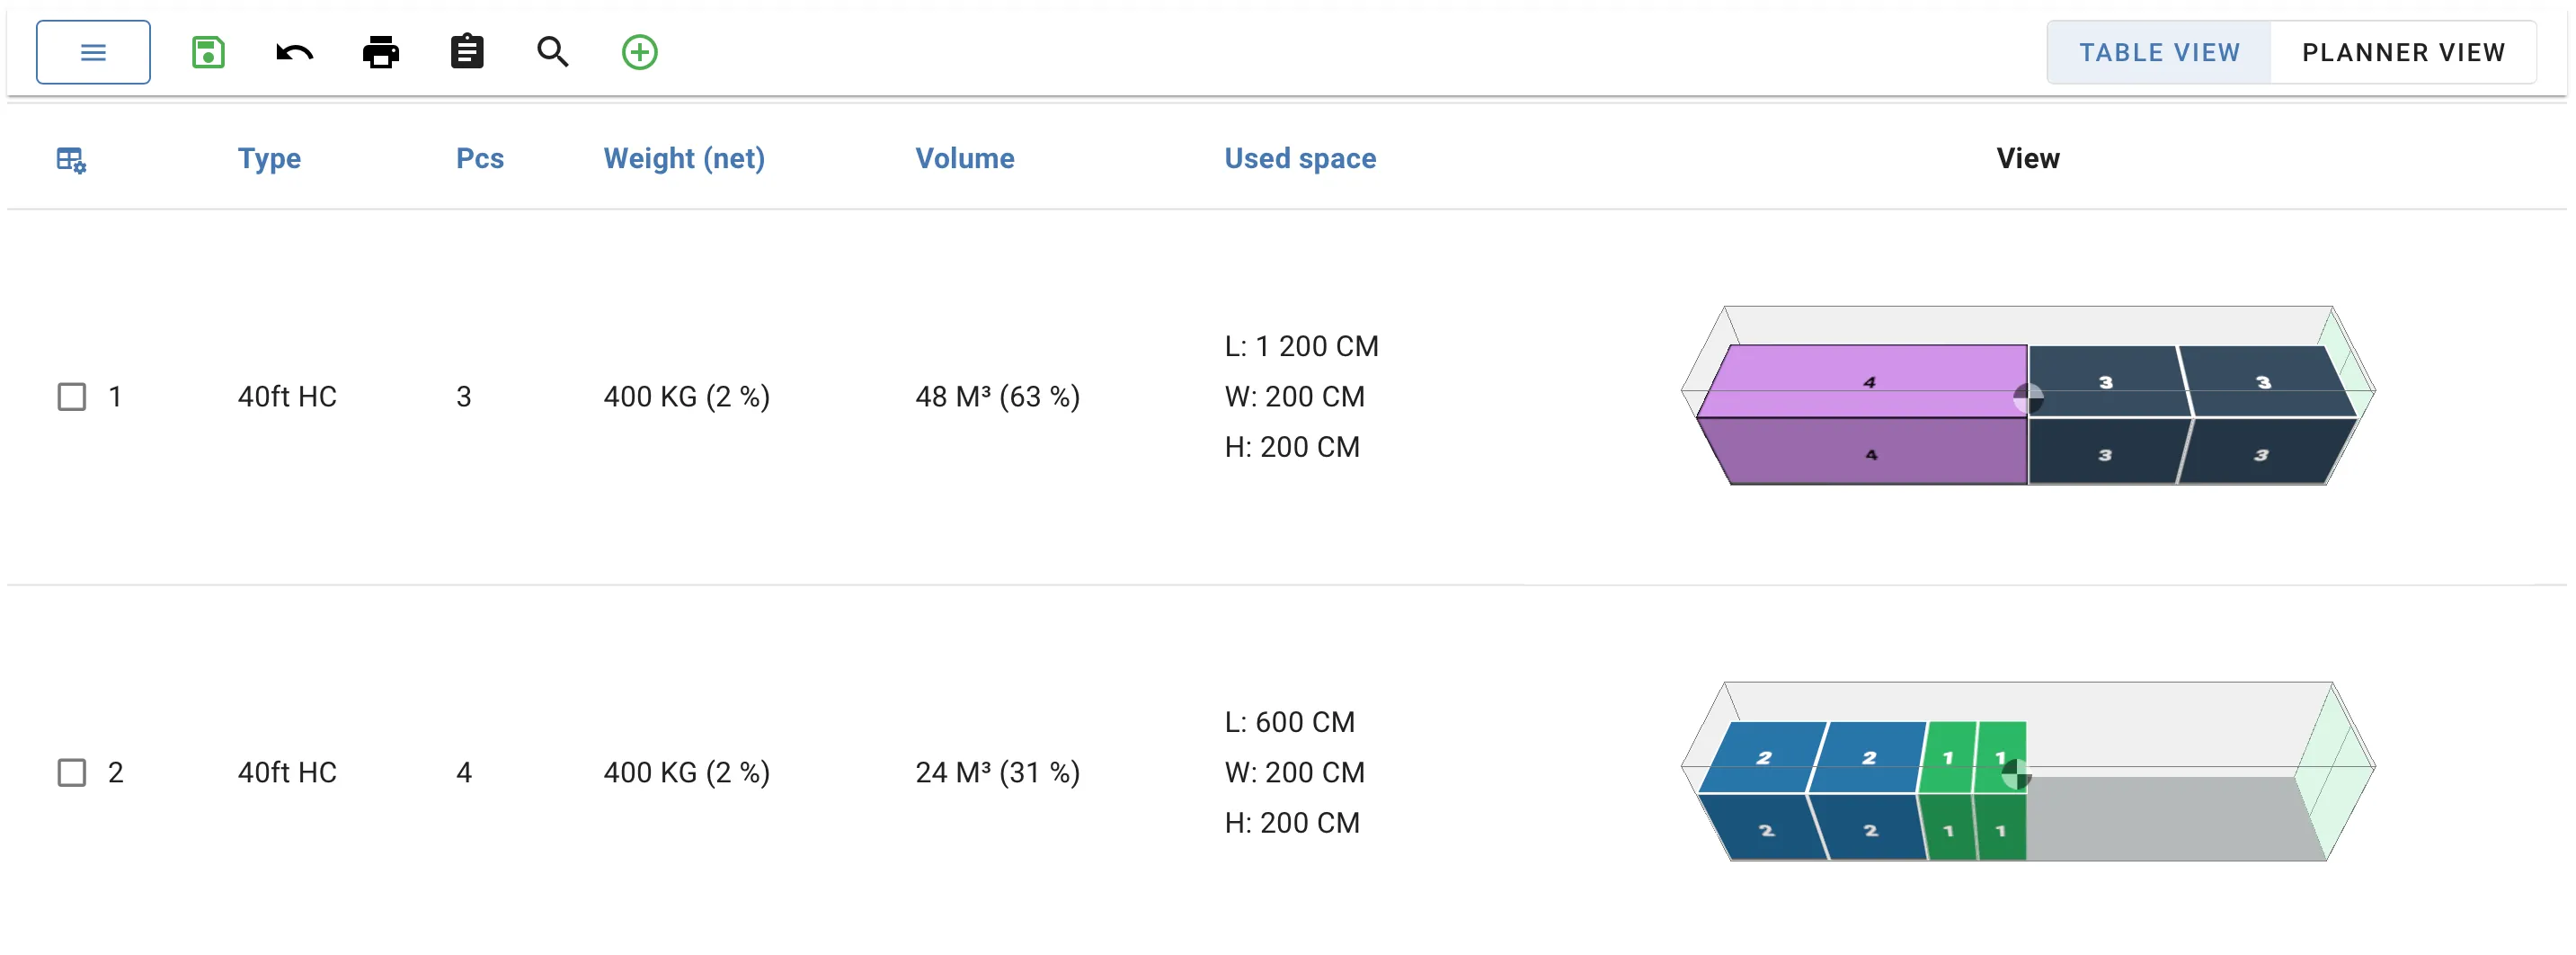
Container number 1 holds a big cargo which we would rather not load in a 40 ft HC but use a Flatrack instead.
The first thing we do is to change this container. In the Workspace view we select the container and then change the container to a Flatrack instead:
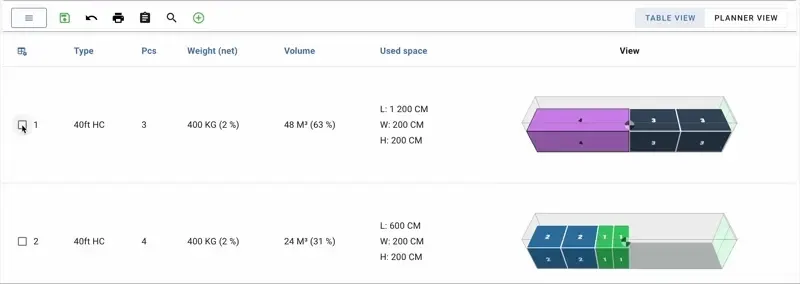
Great, it is now a flat rack container instead. However, because all the cargo did not fit in a flat rack, it loaded the excess cargo in a new container.
The Interactive view
To correct this we go into the Interactive view by clicking on the 3D visualization of the container. When inside the interactive view, we click on the cargo that we want to unload and press the unload button.
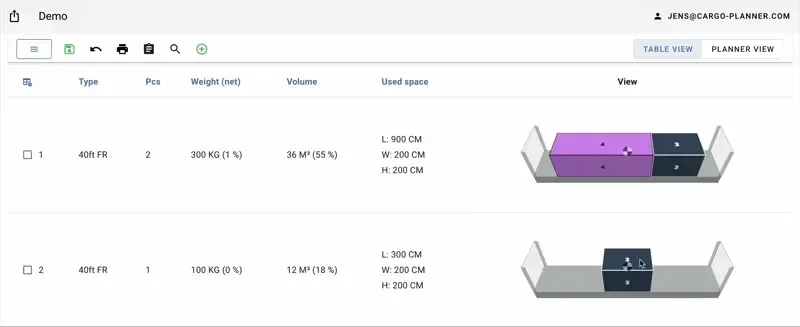
You can also unload selected cargo(s) by pressing the Del or Backspace button. The cargo is then popped up in the “Unloaded items” view meaning it is not currently loaded into any container.
We then go back and enter the interactive view of the 40ft HC container and open up the unloaded items view. We use our mouse to drag the item into the container:
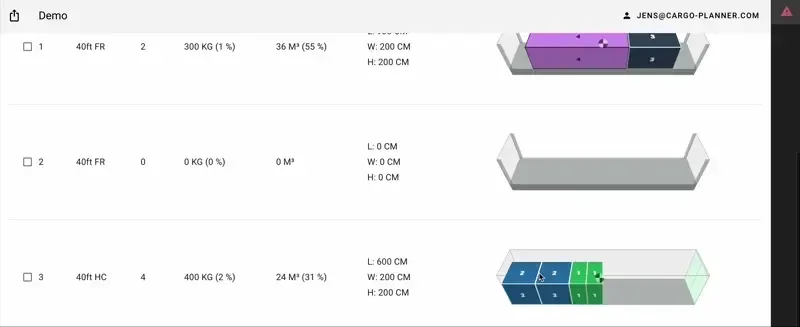
The drag and drop functionality also works outside of the interactive view.
Before wraping up, we remove the empty container.
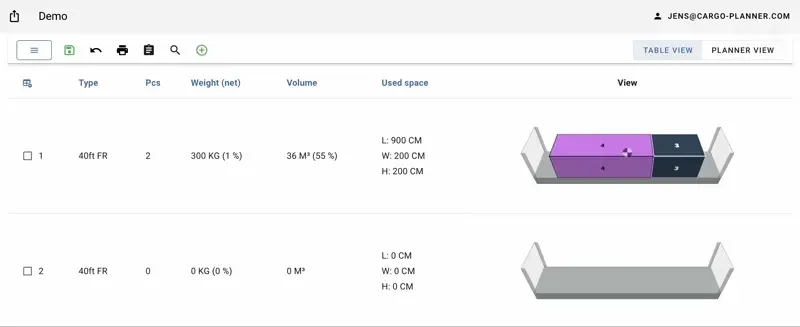
In similar ways you can create and delete containers from the load plan. This gives you the freedom to modify the result according to your preferences.
The Planner View
If you often need to move cargoes inside a container or between containers we suggest that you instead use The planner view. It has been created to simplify loading and moving cargoes. You can easily access it by toggling the view setting in the top right corner:

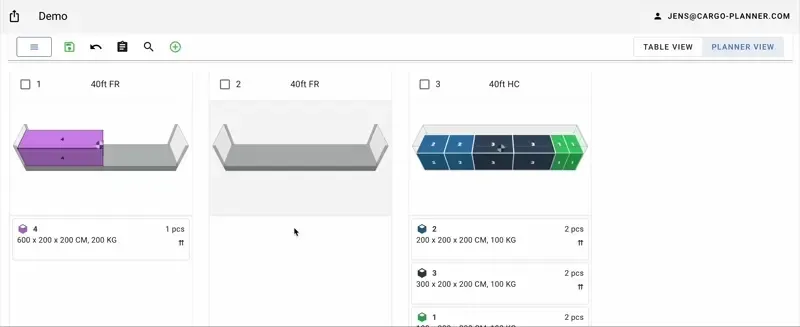
We can move cargo between containers, as well as rearrange the loading order of cargo, Simply by dragging and dropping it.
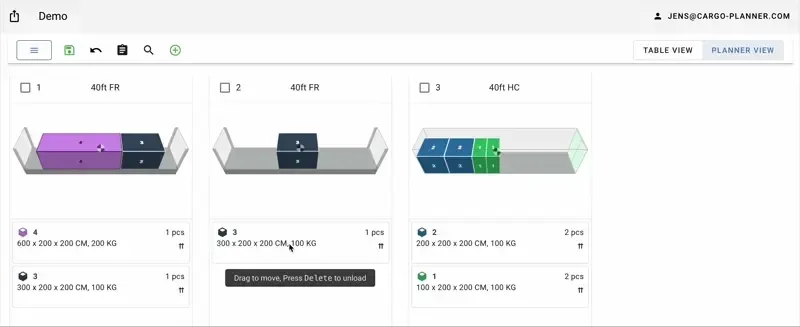
When we are happy with our modifications to the containers, we delete the empty container and save our results.
Secondary Equipment
The same functionality is available for secondary equipment when included in you load plan. Simply toggle between viewing your primary and secondary equipment in your list. Access the interactive view as before. See below;
