Cargo-Planner Docs
Including in your application
While our web application should get most use cases covered, it might sometimes be of interest to add load planning functionality to an existing WMS or ERP system - or perhaps your own custom built web portal. You can utilize most of the functionality by using our Rest API and JavaScript SDK.
Three ways to add Cargo-Planner to your application
There are three ways to add cargo planning functionality to your application. Which one is most suitable in your use case is a tradeoff between complexity and features and customization.
1. Embed in an iframe - no code (almost)
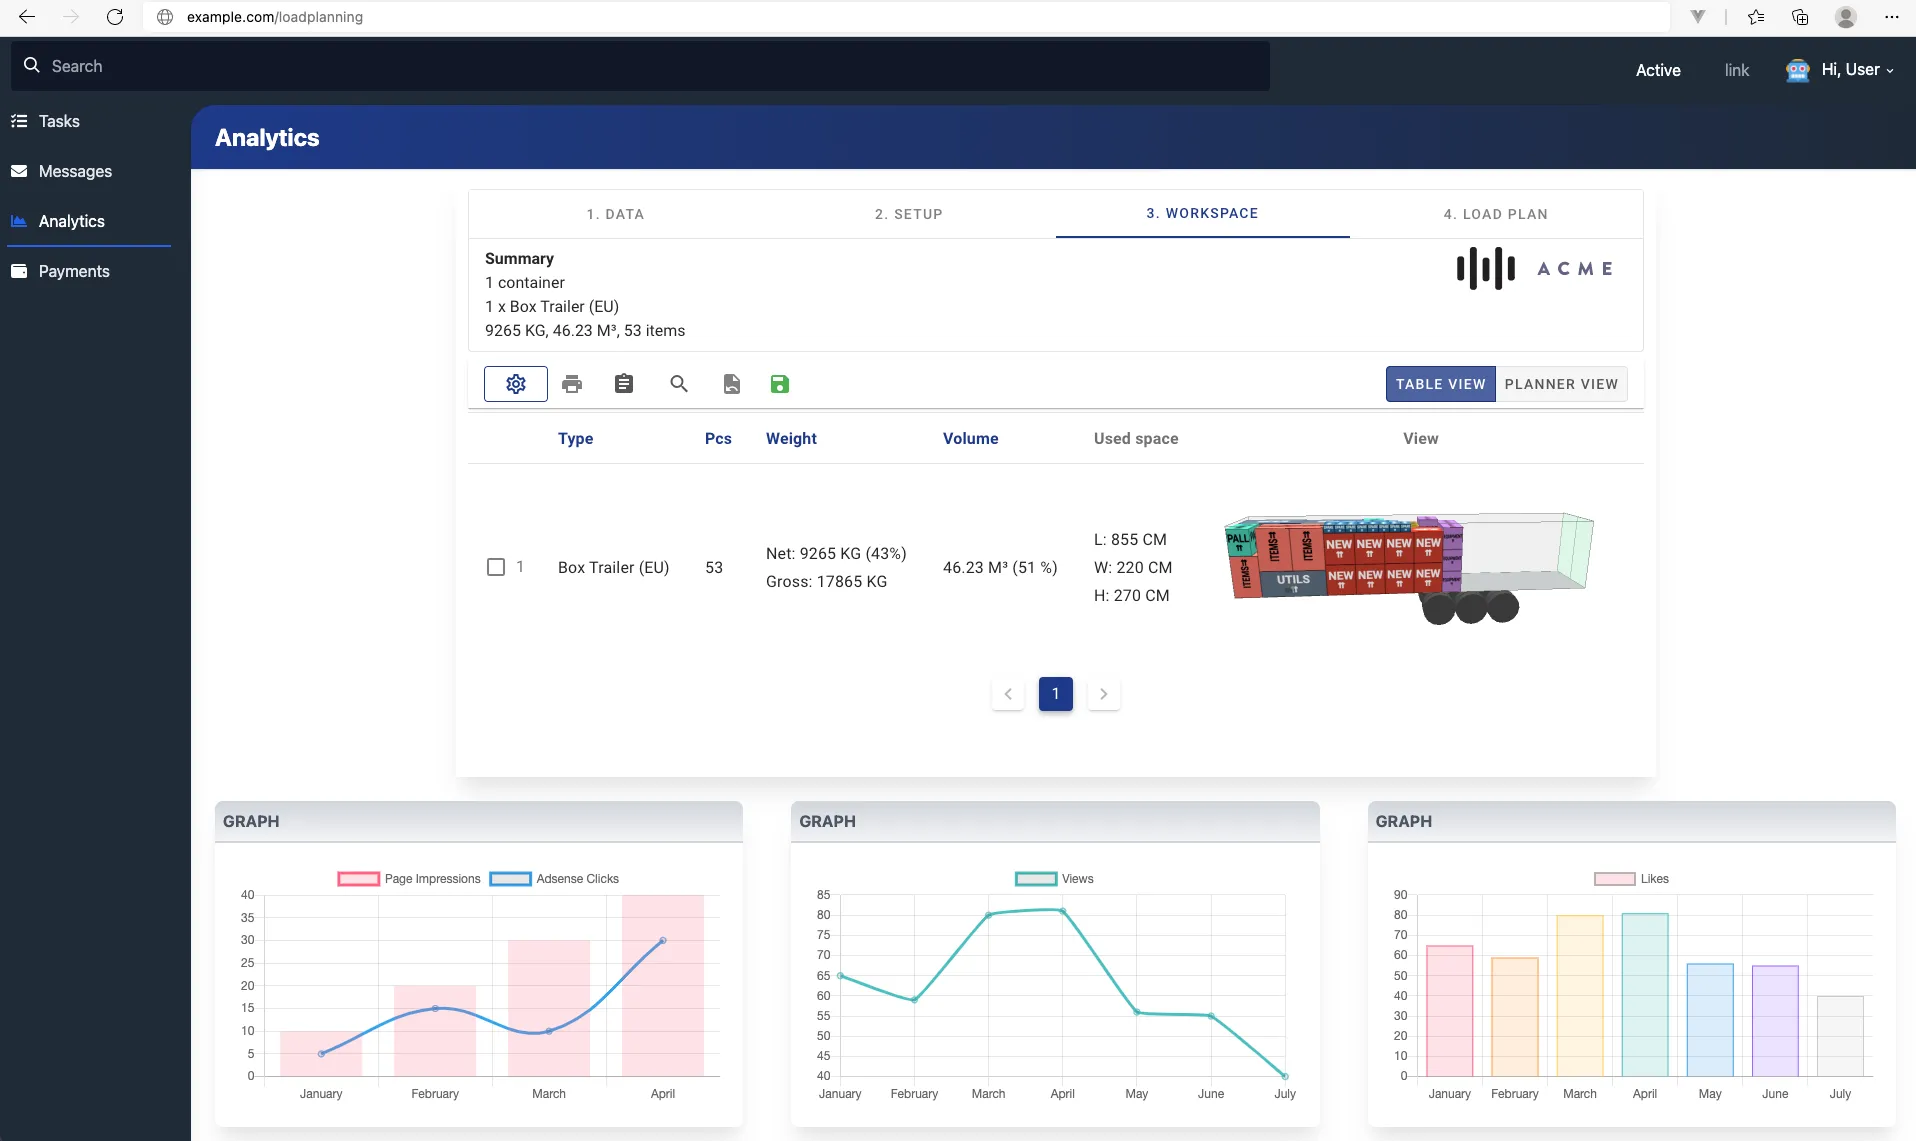
The easiest way to integrate our load planning tool is to embed the view in an iframe html element.
The largest caveat with this approach is that it will be done in a non authenticated way, which means the load list objects needs to be created beforehand and then enable Read and Write access for public sharing. In order to do so you need to create a new load plan (you just need to create it though - you do not need to fill in any data) and then enable sharing.
Once this is done, then copy the sharing link and embed it in an iframe like this:
<iframe
  src="https://app.cargo-planner.com/loadlist/10405cacde654075kjf53bd1f78520/workspace/0?length_dim=IN&weight_dim=LB&primary=1e3a8a"></iframe>
Notice you can add a primary query parameter with a hex color. Provide your theme color and it will blend in more with your environment
You can also attach a set the query paremeter hide_navigation to true to hide the navigation bar. This could be useful if you for example only want to show the load plan view.
2. Upload data using the API - show result in an iframe
While the above solution quickly makes it possible to attach load planning functionality to your site, the main drawbacks are that you need to create each list manually. If you have multiple users using your application it can result in some strange behavior as the same load list could be updated simultaneously.
Another drawback is that the cargo data needs to be added manually (well, you could still use the various importing functions). Your application will likely already have this information available - therefore it would be great if one could upload this information automatically.
The solution is to use our API.
Lets say your application has below endpoint:
# /calculate endpoint at your server located at https://example.com

import requests
import json

CARGO_PLANNER_TOKEN = 'Token your-token'

def calculate(request):

    # This data perhaps come from your front facing website or from your internal data source
    data = {
        "loadlist": {
            "name": "Purchase-order 1234",
            "public_access": "RW"
        },
        "calculation": {
            "length_dim": "CM",
            "weight_dim": "KG"
            "container_types": [
                {
                    "id": 1,
                    "payload": 20000
                }
            ],
            "items": [
                {
                    "label": "product 1",
                    "l": 30,
                    "w": 80,
                    "h": 90,
                    "wt": 70,
                    "qty": 2
                },
                {
                    "label": "product 2",
                    "l": 50,
                    "w": 40,
                    "h": 50,
                    "wt": 40,
                    "qty": 3
                }
            ],
        }
    }

    # Call our API
    response = requests.post(
        url="https://api.cargo-planner.com/api/2/create_and_calculate/",
        data=json.dumps(data),
        headers={
            'Content-type': 'application/json',
            'Authorization': CARGO_PLANNER_TOKEN
        })
    if response.status_code == 200:
        # Return the link to your page for the iframe
        return "https://app.cargo-planner.com/loadlist/{}/".format(response.data["id"])
    #...
3. Upload data using the API - show the result using our SDK
In order to achieve full customization of the look and feel, while also getting rid of the need to use an iframe you can use our Javascript SDK.
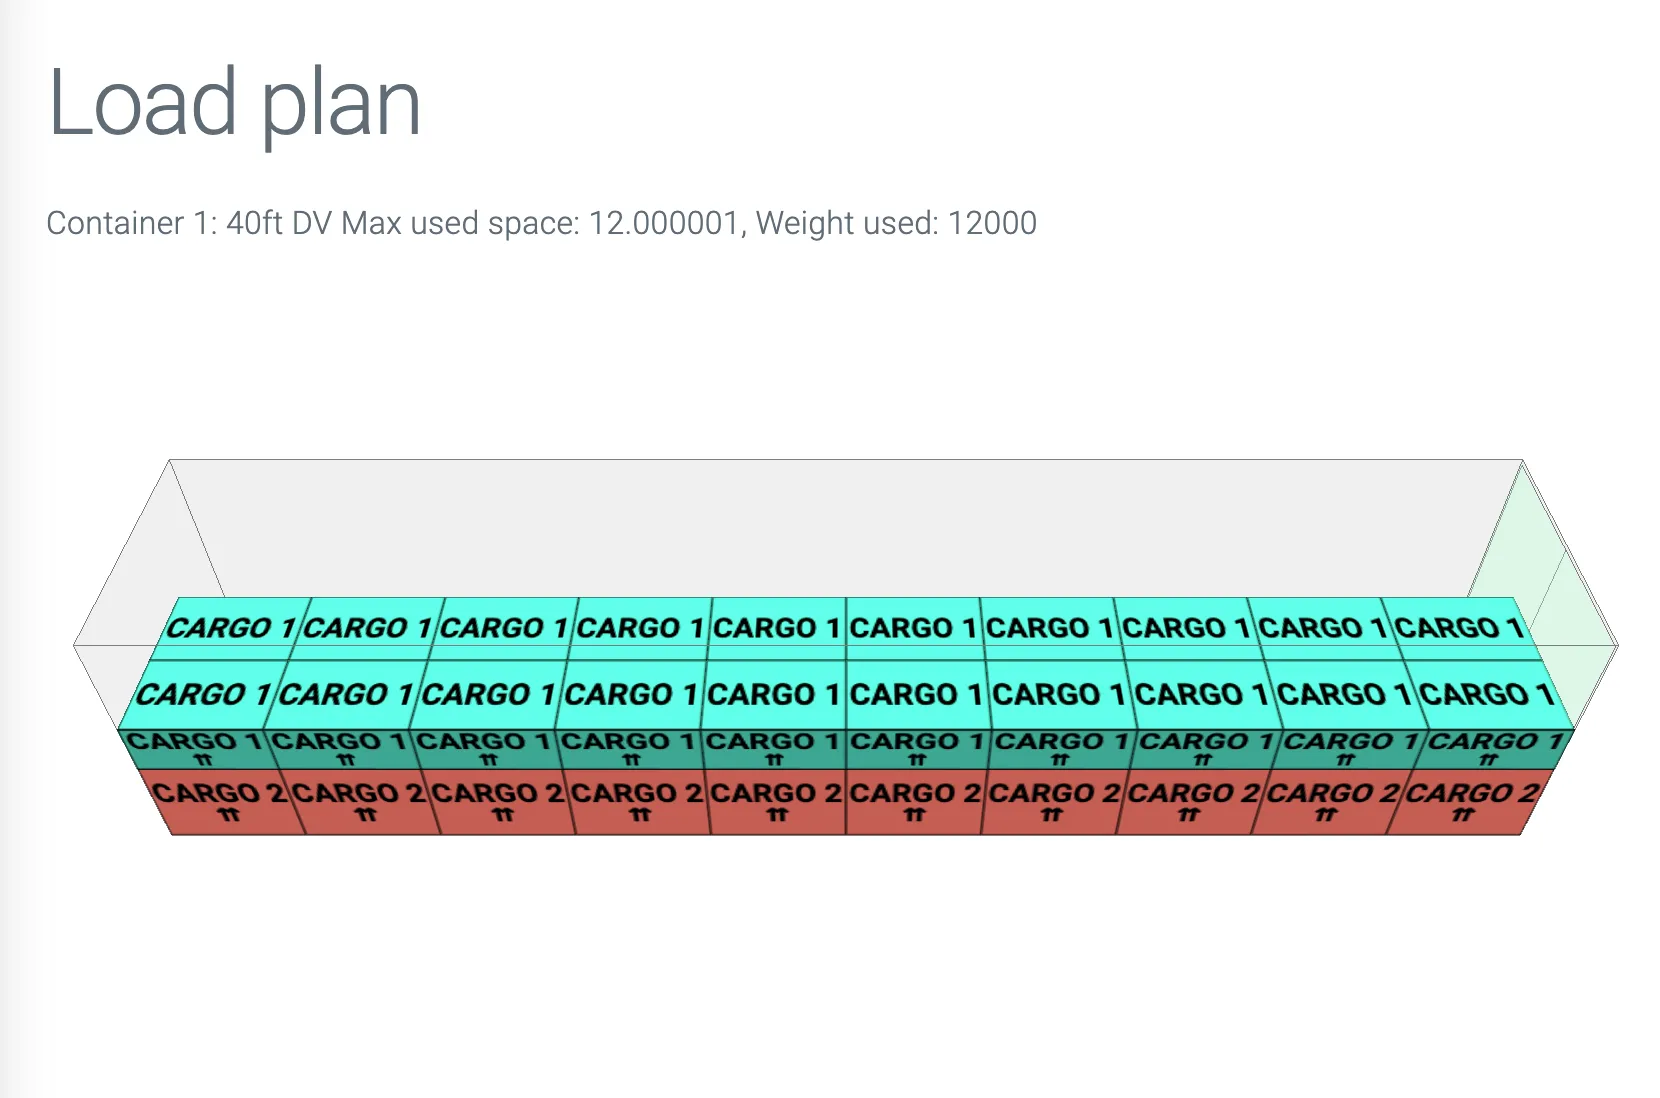
In this way you can show the 3D layouts of each container and also present the metrics you seem to be most important.
Below is a simple server side snippet in Python and a Javascript snippet for your front facing application:
# /calculate endpoint at your server located at https://example.com

import requests
import json

CARGO_PLANNER_TOKEN = 'Token your-token'

def calculate(request):
    response = requests.post(
        url="https://api.cargo-planner.com/api/2/calculate/",
        data=json.dumps(request.data),
        headers={
            'Content-type': 'application/json',
            'Authorization': CARGO_PLANNER_TOKEN
        })
    if response.status_code == 200:
        return response.json()
#...<meta charset="utf-8">
<title>My customer portal</title>
<script src="https://usermedia.cargoplanner.net/sdk/cargoPlannerSDK.umd.min.js"></script>
<body>
<h1>Load plan</h1>
</body>
<script>
calculate();
async function calculate() {
// Initialize 3D engine
await cargoPlannerSDK.SceneManager.init();
// Refer to the API documentation for more options
let calculationData = {
length_dim: "M",
weight_dim: "KG",
// Maybe the cargo dimensions might be entered from an interactive form?
"items": [
{
"label": "Cargo 1",
"l": 1.2,
"w": 0.8,
"h": 0.5,
"wt": 300,
"qty": 20,
"layers": 2,
"color":"#48c9b0"
},
{
"label": "Cargo 2",
"l": 1.2,
"w": 1.0,
"h": 0.9,
"wt": 300,
"qty": 20,
"layers": 2,
"color":"#ec7063"
},
],
"container_types": [
{
"name": "40ft DV",
"L": 12,
"W": 2.33,
"H": 2.38,
"payload": 22000,
"door": {
H: 2.33,
W: 2.28
}
}
]
}
fetch('/calculate/', {
method: 'POST',
headers: {
'Content-Type': 'application/json',
},
body: JSON.stringify(calculationData),
})
.then(response => response.json())
.then(data => {
// If we received any solutions
if(data.solutions) {
// At the moment each calculation gives one solution (in the future we might provide more)
data.solutions.forEach((solution) => {
// Go through each container
solution.containers.forEach((container, index) => {
// Render the canvas
cargoPlannerSDK.SceneManager.createScene(
[container], // container data, you can send in multiple containers to a scene, and specify their position
null, // Interactive mode (set to null when showing multiple containers)
400, // Width in pixels
200 // Height in pixels
).then((canvas) => {
const containerDiv = document.createElement("div");
const label = document.createTextNode(`Container ${index+1}: ${container.name} Max used space: ${container.items_bb.max.x}, Weight used: ${container.WT} `)
containerDiv.appendChild(label);
containerDiv.appendChild(canvas);
document.body.appendChild(containerDiv);
});
});
});
}
});
}
</script>
The above example will generate load plan below:
