Cargo-Planner Docs
Importing cargoes
To speed up the process of entering data, cargoes can be imported to your load list directly via Excel or via the Cargo Library.
Import via Excel
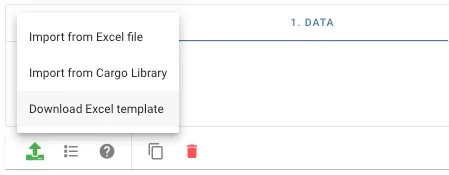
Cargo-Planner supports importing cargoes from xlsx files. To import your cargoes, click on the import button and select “Import from Excel file” from the 1. Data view.

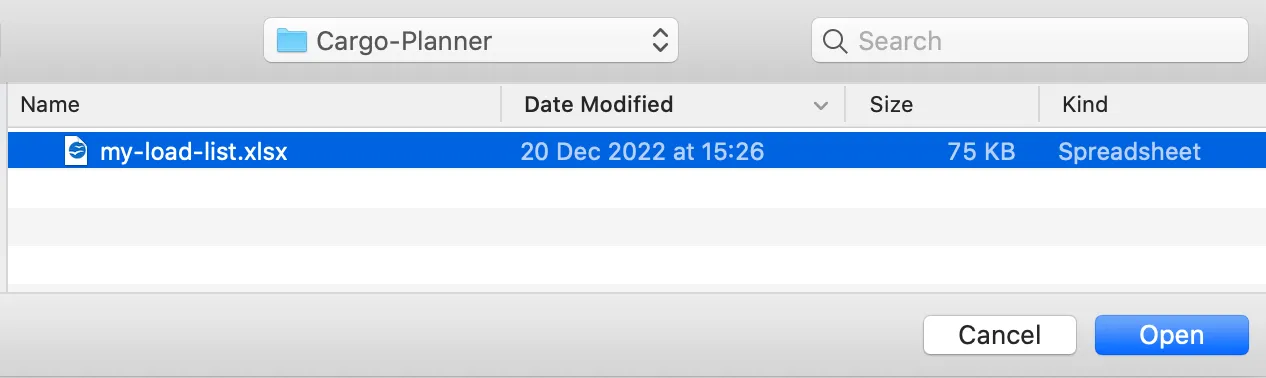
Select the Excel file that you want to import and press “Open”.
The rows and columns from your Excel file are read into the system which tries to map your column names to the appropriate cargo properties. If a column cannot be mapped to a cargo property, these can be set manually. Only mapped columns will be imported. See more info under column mappings.
Length, Width and Height columns need to be specified in order to import data.
Rows that you do not want to import can be easily removed by clicking the remove button on the far left side of the row that you want to delete.
When you are happy with the item rows, column mappings and import options, click on “Import” to add these cargoes to your load list.

If the software fails to parse your Excel file you can always download and use our Excel template.
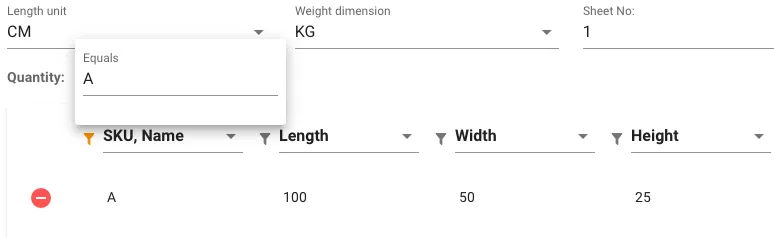
Import options
- Length unit - Specify length unit for your cargoes.
- Weight unit - Specify weight unit for your cargoes.
- Sheet No - Specify the sheet number that you want to import. Default is 1.
- Hide empty columns - Hides columns that do not have any cargo property specified and lack item values.
- Replace current data with parsed data - Removes all previous data in loadlist when new data is imported. Uncheck if you want to keep existing data.
Cargo properties
The following cargo properties can be imported via Excel files. You can see more details regarding cargo properties here.
- Item - text
- Length - number
- Width - number
- Height - number
- Weight - number
- Quantity - number
- Stackable - “Yes” or “No”
- Bottom Only - “Yes” or “No”
- Tiltable - “Yes” or “No”
- Longship - “Yes” or “No”
- Layers - number
- Consignment - text
- Priority - number
- Geometry - “Box”, “Cylinder” or “Hollow cylinder”
- Palletize - “Yes” or “No”
- Unit Quantity - number
- Class - name of class in segregation table
- Load in - comma-separated list of container names (e.g. 20ft DV,40ft DV)
Column mappings
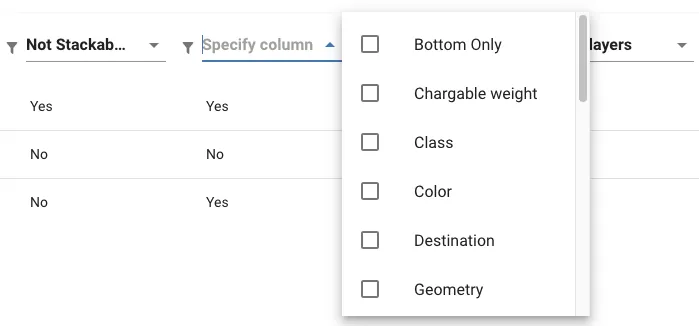
Column mappings are used to determine how your values are imported. Set or change column mappings by clicking on the column header and select the cargo properties that correlate to that particular column. You can select multiple cargo properties for a single column.
Note that a cargo property can only belong to one column. If a cargo property is selected when already assigned to another column, the old column mapping will be removed.
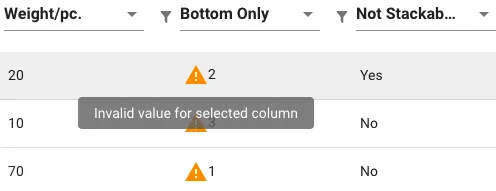
If a column is mapped to a cargo property that cannot be parsed as a valid value, a warning symbol will be shown next to the value. Values that cannot be parsed will be ignored when imported.
Filter
To refine the list, apply a filter to a designated column. Simply click the filter button adjacent to the column header and input the desired value for matching. This will display only the rows where the specified column contains the entered value.
Use our Excel template
Feel free to use our Excel template that can be downloaded by clicking on the import button and select “Download Excel template” from the 1. Data view.
When using the Excel template, select the correct weight and length dimensions and enter your cargo items.

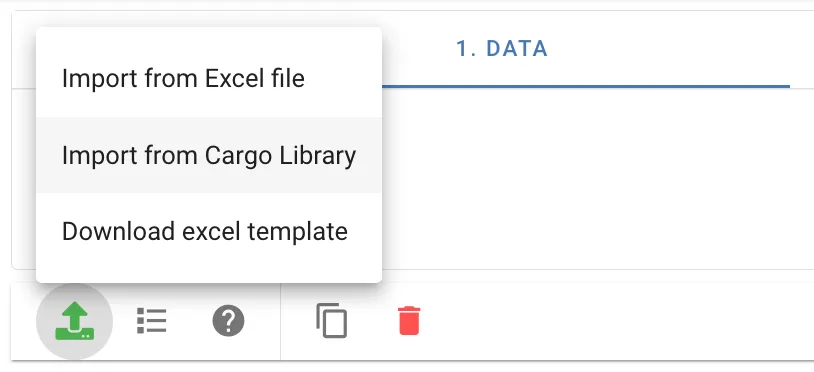
Import via Cargo Library
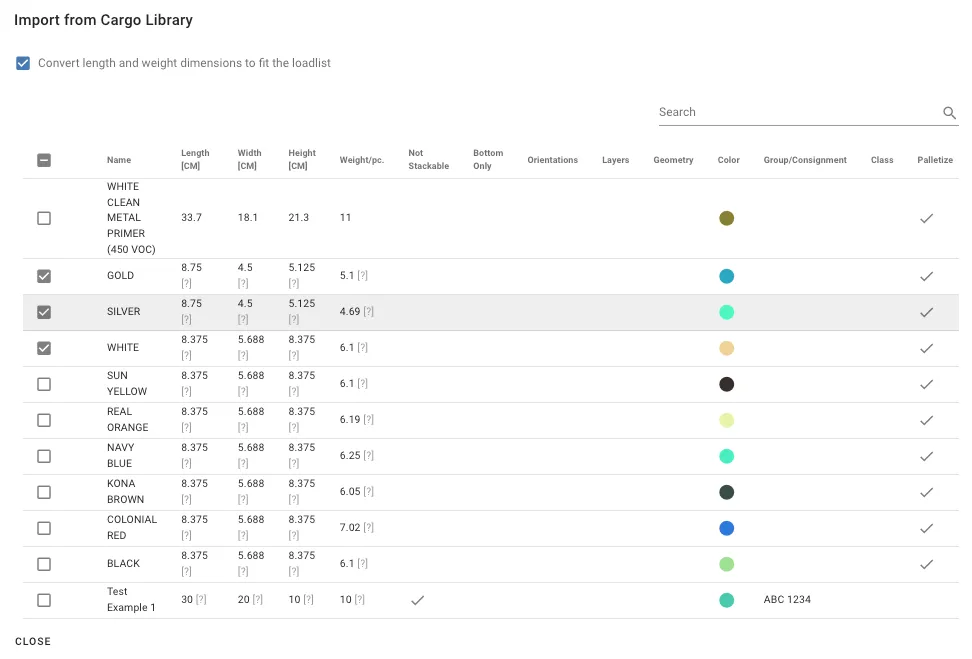
Add cargoes to a load list from your Cargo Library by clicking on the import button and select “Import from Cargo library” from the 1. Data view.
A dialog is shown with all cargoes in the Cargo Library. Select the cargoes that you want to import by clicking the checkboxes. Close the dialog to add the selected cargoes to the load list.