Cargo-Planner Docs
Working with pallets
A common scenario is to load cargoes on pallets and then load them into containers. This type of “nested calculation” is easy to set up in Cargo-Planner.
Let’s take a look at the settings that we need to create a “nested” load plan.
In the following example, we will organize a shipment for a cereal and milk company to demonstrate how to organize pallets in a trailer.
1. Data
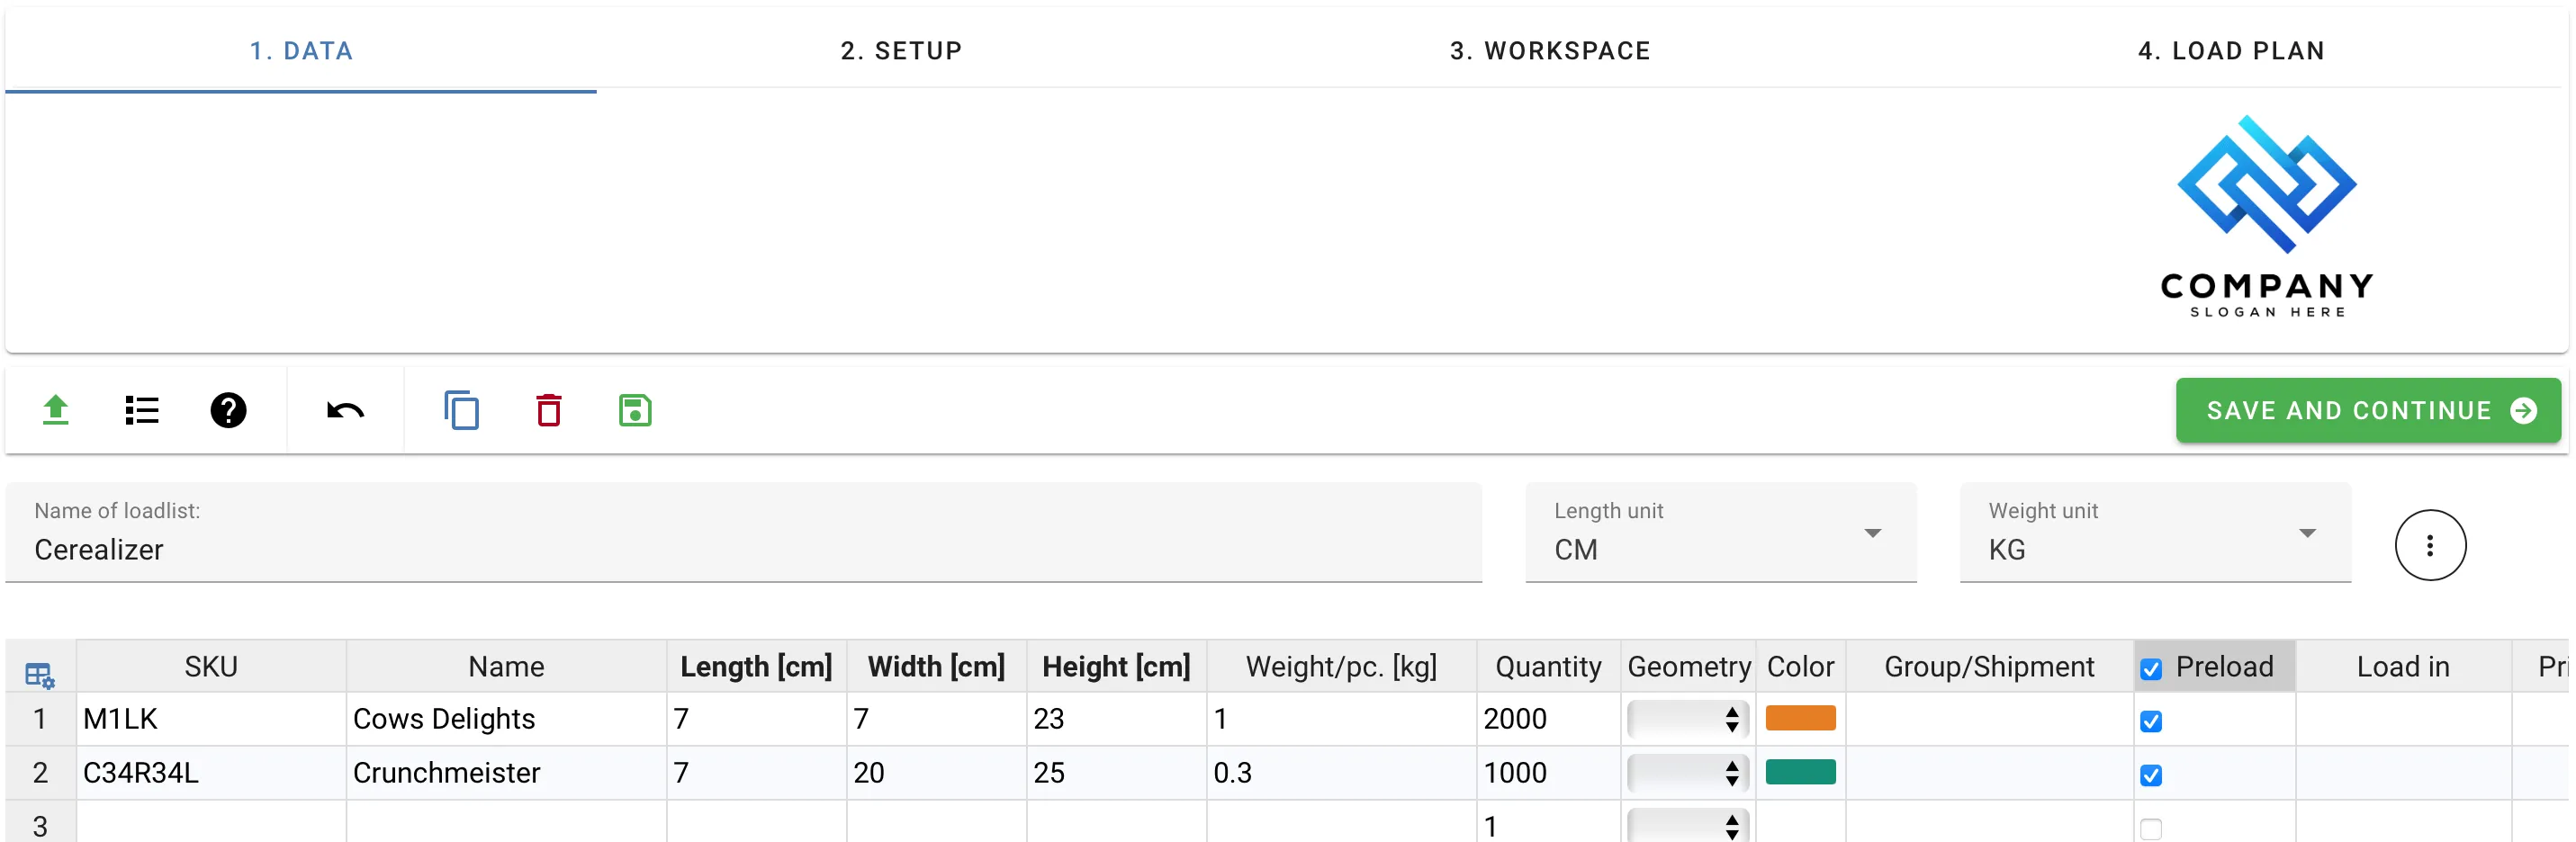
Inside the data tab within our load plan, we enter the cargo that we want to load.
We then make sure the Preload column is enabled for all the cargoes that we want to pre load on pallets:
We save our changes, and head over to the Setup tab.
2. Setup
For transportation, we are using a Box Trailer and we want to utilize full size and half sized Euro Pallets. Within the equipment library section, we navigate to the “Secondary” tab. In this tab we can find the types of containers that can be used for preloading cargo. We locate the Euro Pallets and click on the green plus sign to add them to our selected equipment.
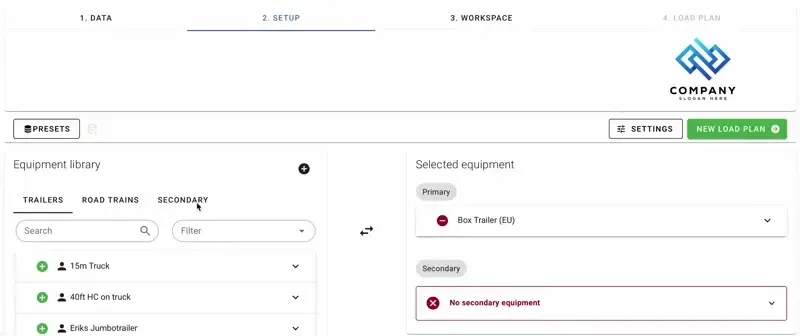
If the equipment that we need is not in the list, we can use the black plus sign in the top right corner of the Equipment library tab, to add custom containers to our library.
When creating a custom pallet (i.e. Secondary Equipment), please note that the “Max Height” setting is 0 by default which means only one layer of cargo will be loaded on that pallet. Furthermore, in order to load the pallet, the “Max Height” should not exceed the size of the trailer door.
When I am done importing the pallets that I want to use, I click on “New Load Plan” and let the app work its magic.
3. Workspace
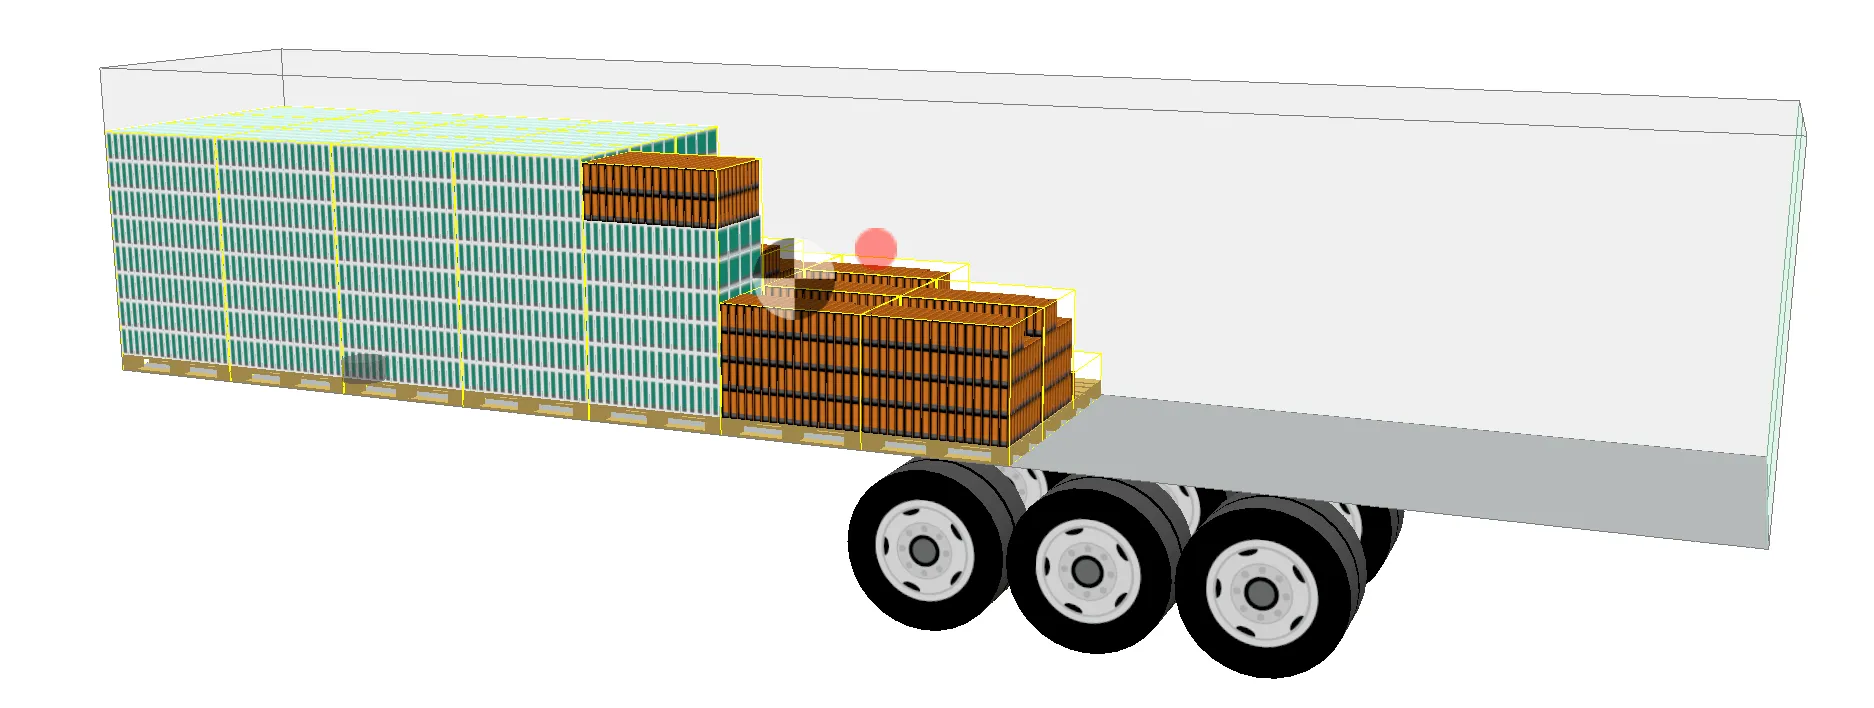
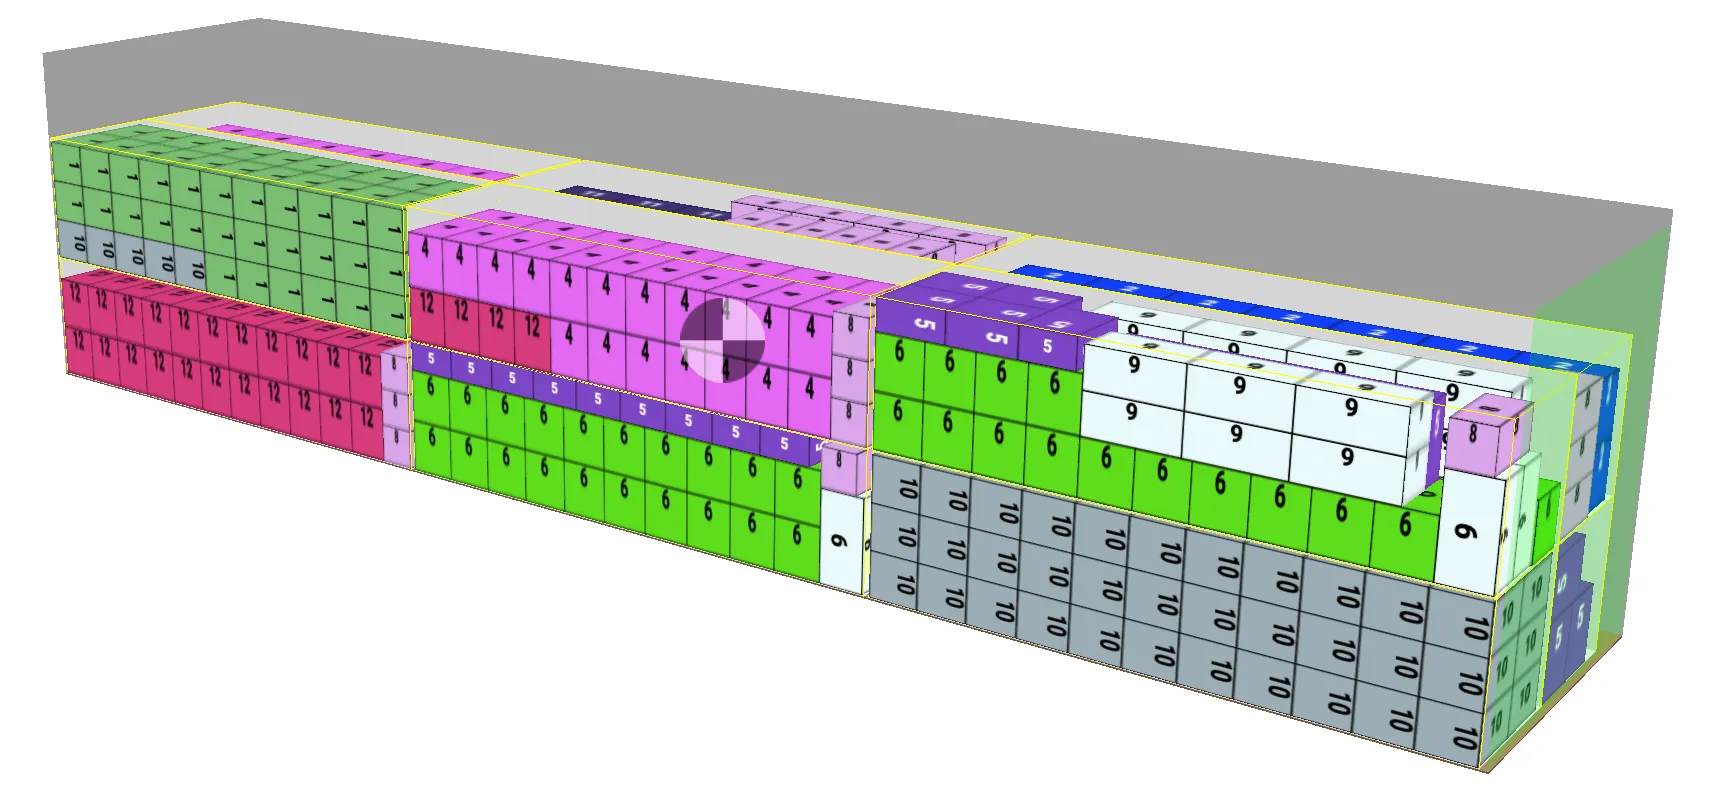
When examining the results in the workspace tab, we can quickly see that all the items were loaded in full size Euro Pallets and some pallets contained both milk and cereal. For our example, we wanted to load the milk on half sized pallets and cereal on full sized pallets to manage the weight differences.
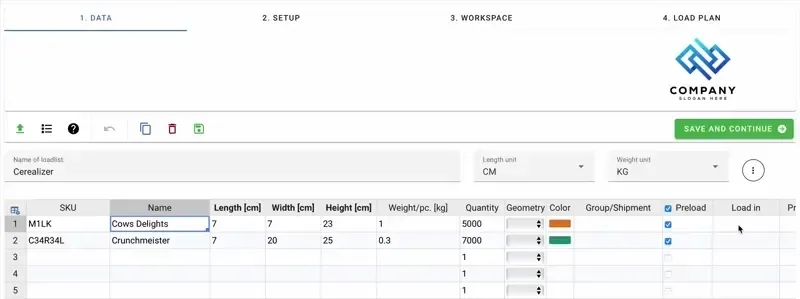
In order to correct this error, we head back to the “Data” tab and have a look at the column for the cargo property load in. We need to tell the app to load the cargo in specific pallet types. To do this, we double click the “load in” column for the cargo, and in the dialog we select the pallets that this cargo should be loaded in.
We make sure to save the changes, head back to our setup tab and click on “New Load Plan”.
4. Load Plan
We now see that all the milk is loaded on half sized Euro Pallets and that the cereal boxes are loaded on full size Euro Pallets. Precisely, as we wanted.
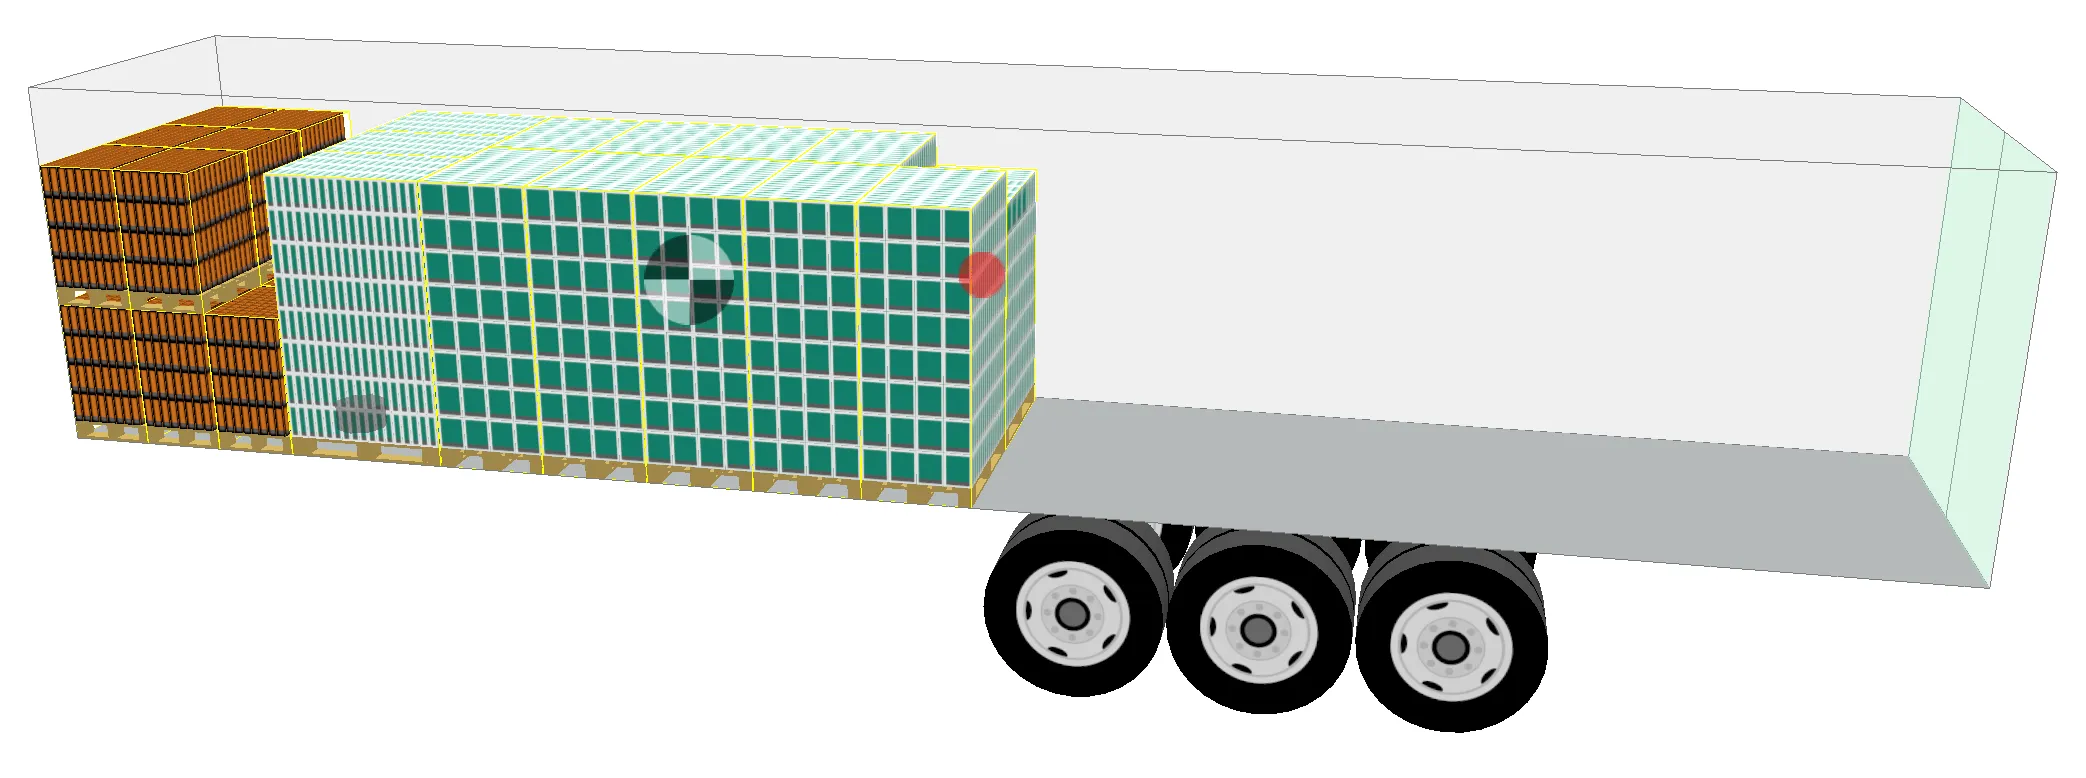
In the Interactive view we can interact with the pallets in the way we can interact with cargoes.
Note: Pallets can be Boxes, or other containers!
The term “pallet” does not mean that the actual pallets need to be - pallets. They can also be closed boxes.
Have a look at below example when we have created a closed box type:
When the pallet types are closed, they can be stacked on top of each other.