Cargo-Planner Docs
Custom containers
In this guide we are going to go through the process of creating a custom container, to use in our load plans. For this example we are going to be creating a custom air cargo pallet, but the process is very similar to creating trailers, pallets, boxes, vessels or sea containers.
Accessing the Container Builder
The Container Builder is the part of Cargo-Planner where you can create and modify containers, trailers and even entire ships. Any time you click “Edit”, on an existing container you will be taken to the Container Builder. In this tutorial we are going to access it through Equipment, that can be found in the menu on the left side of the screen.

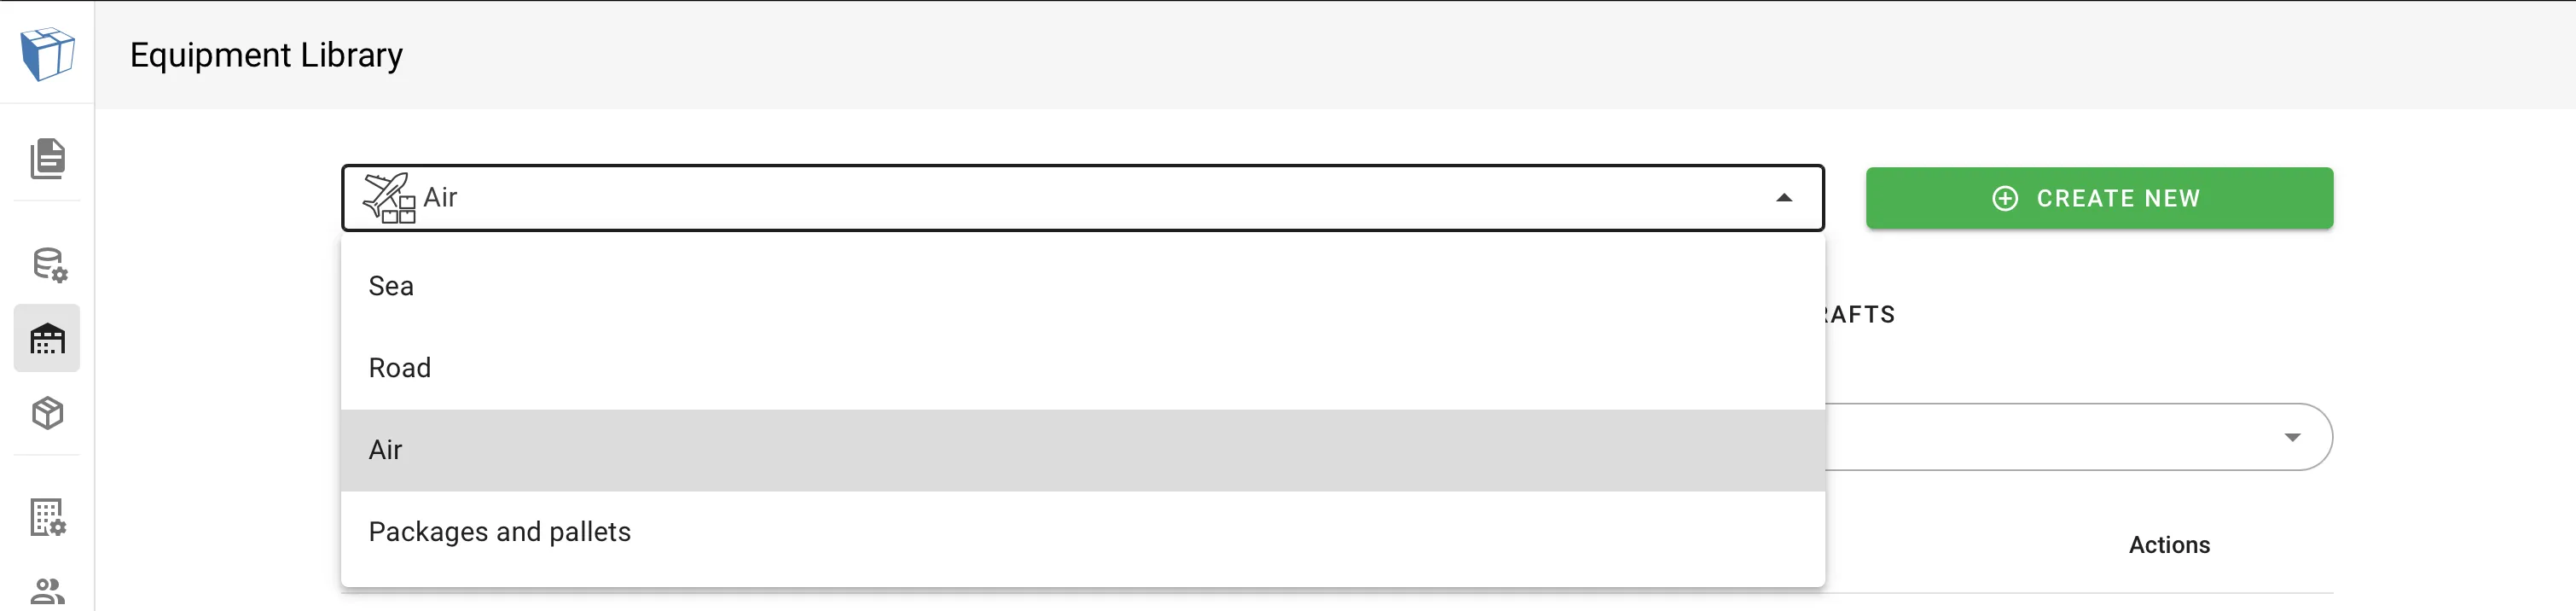
First off we need to make sure we are looking at the right type of equipment. Since we are going to be creating an air cargo pallet, we select Air Containers & Pallets from the dropdown near the top of the page.
You can create something from scratch by clicking the green Create New button in the top right corner. However, it is often easier to find a good starting point to work from. We are going to do this by finding a pallet that is similar to what we are interested in, but not quite the correct dimensions or shape. In this tutorial we are going to select a PMC / PCP - Q7 (747).
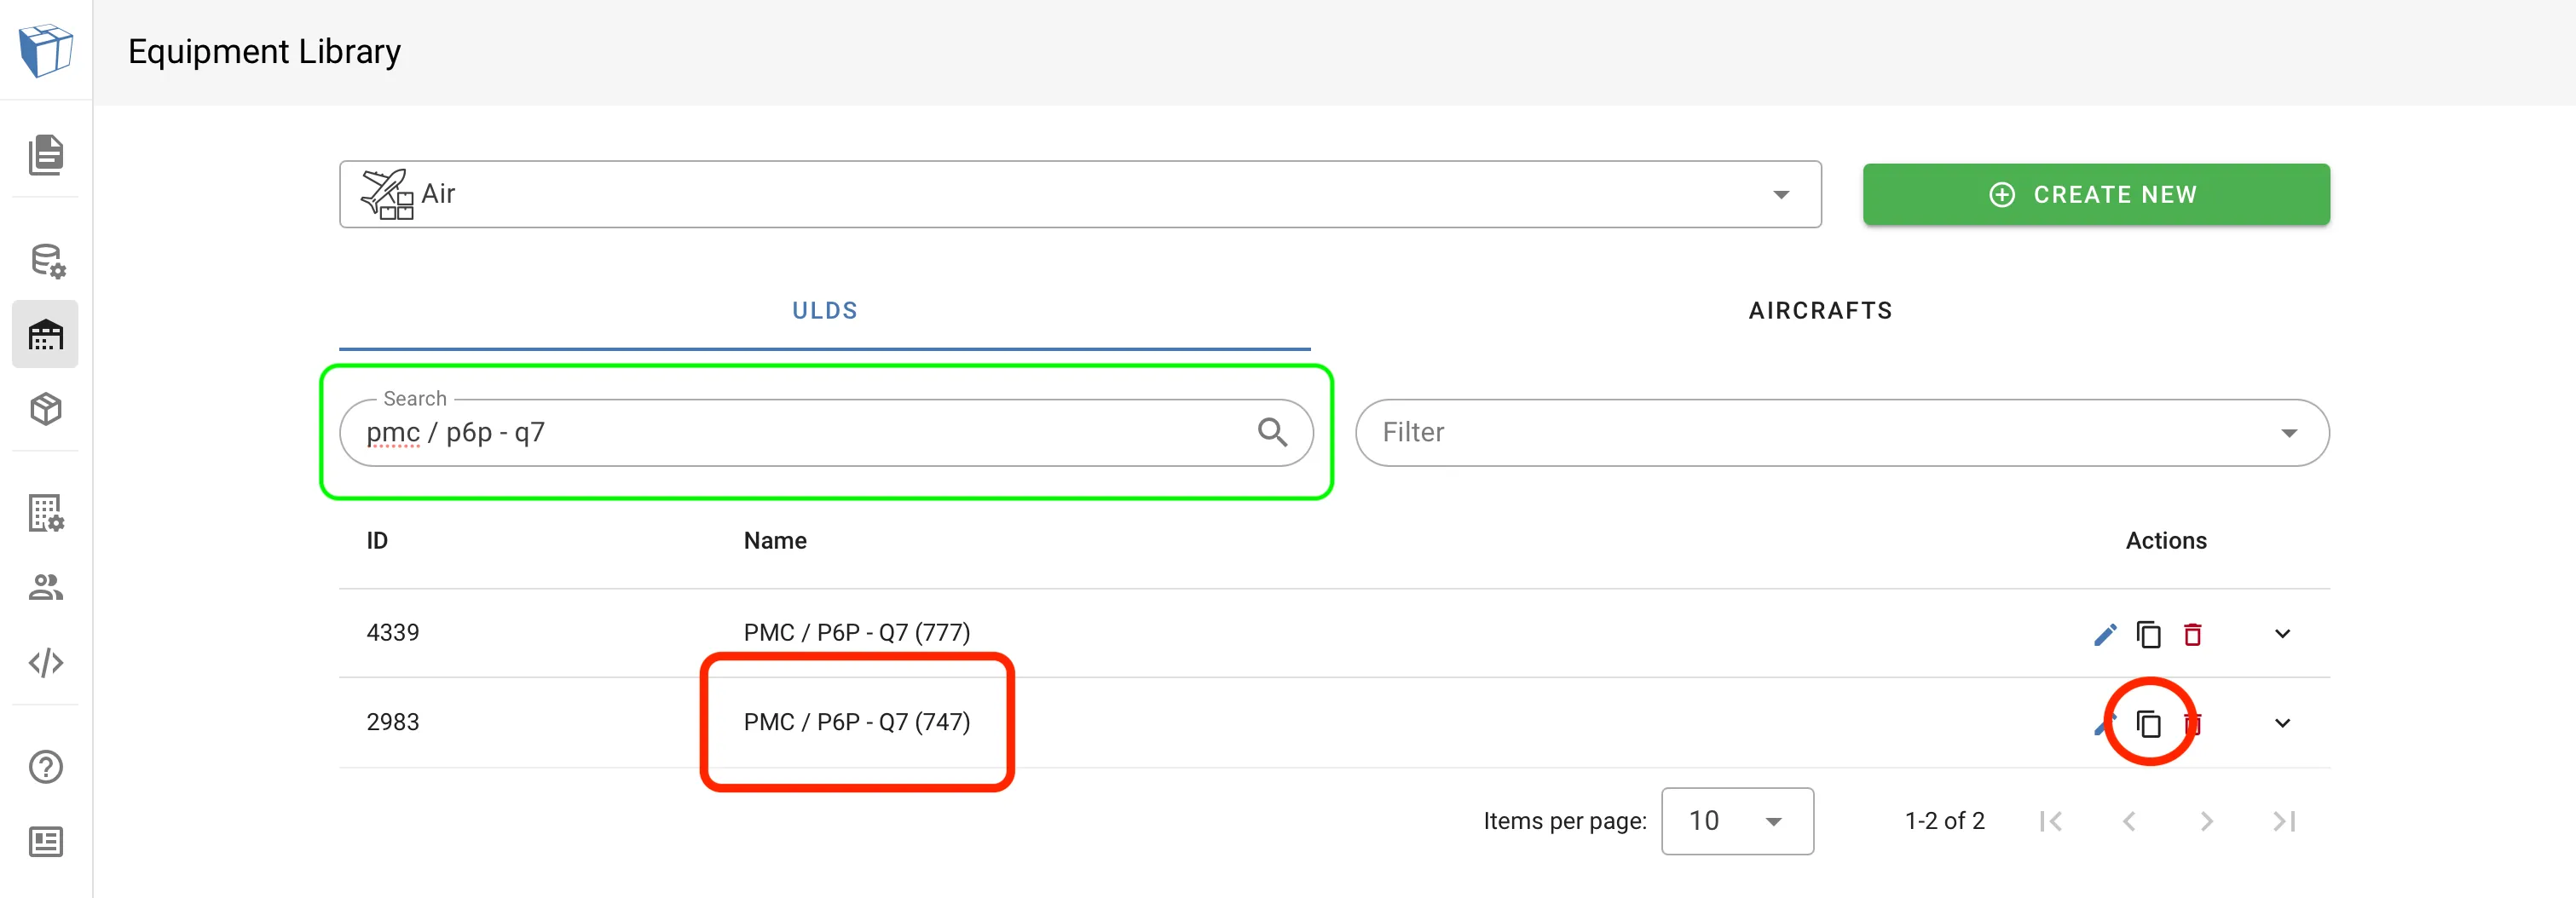
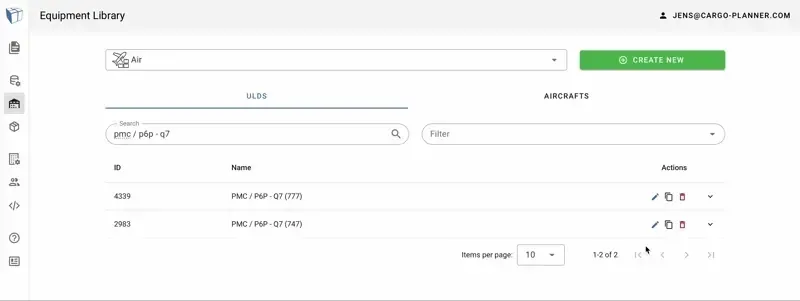
Since the ULD we selected is part of the Standard Library, we don’t have the permissions to make changes to it. So we need to create a copy. By following the animation below; We click the copy button, give our new container a soothing name, click on MAKE COPY. We then find our created ULD copy in the list, and click on the pencil icon to start editing.
Great! Next we’re going to examine the different parts of the Container Builder.
A breakdown of the Container Builder
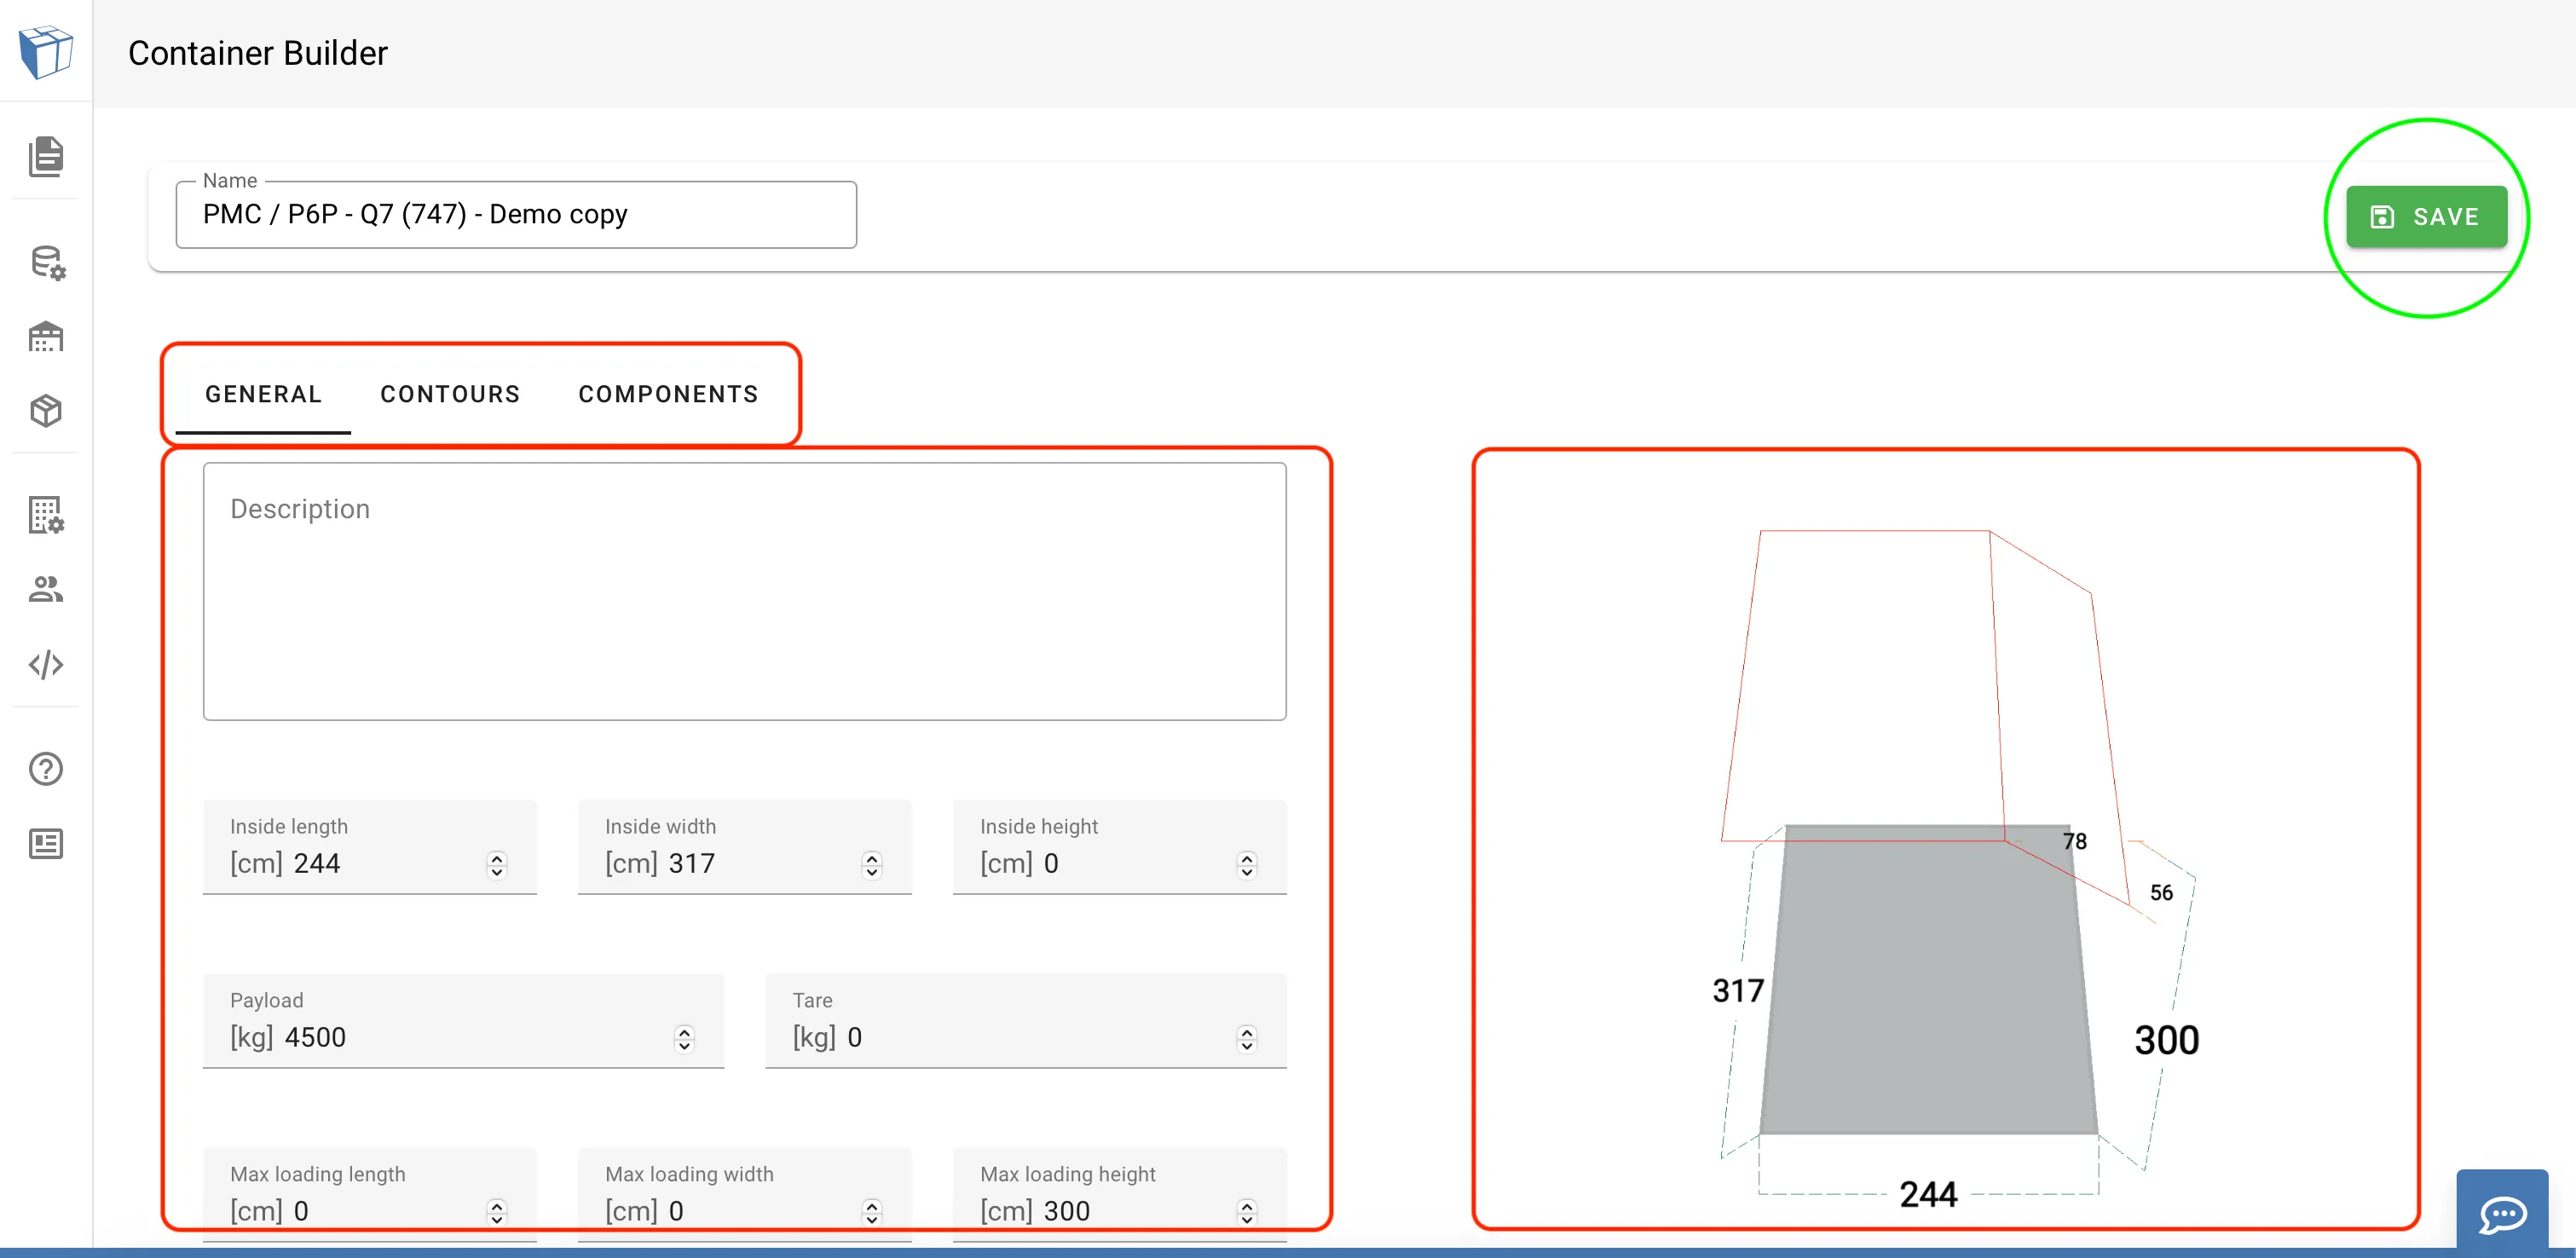
1. Categories.
In the upper left you can see the different tabs available to edit. These will differ depending on what type of equipment we are editing. On a road trailer you can for example find Axles and Decks, and on air containers and pallets (like the one in the screen shot), you can find Contours.
Click through them to see what is available to edit.
2. Edit
The tabs contain different editing options and settings. The General category (that can be seen in the picture) will contain the dimensions and weights, as well as what walls exist and if there is a roof.
3. Preview
Any changes we make will immediately be reflected in the preview. We can use our mouse to spin the preview 360 degrees.
Making the changes
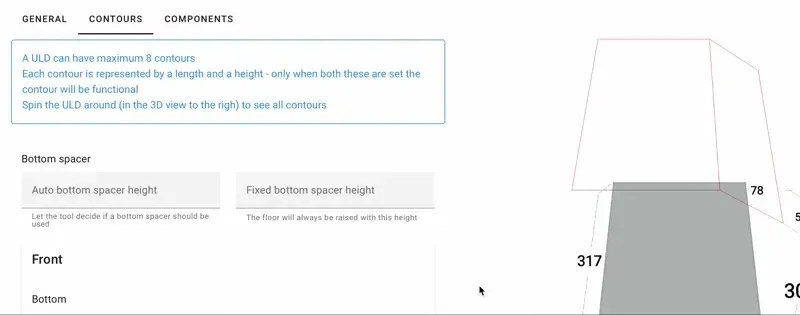
In this example we are going to change the contour of the pallet, so we navigate to the Contours tab.
Adding a contour requires setting both a length and a height. The length corresponds to how far from the relevant side of the container the contour spans, and the height how far from the top or bottom the contour spans.
Let’s imagine that we need an inverse of the selected container. (I know it is a symmetrical container, but for the sake of practicing.) This is achieved simply by removing our contour’s measurements from the rear top, to the front top. See the animation below.
When editing the values we can see that the preview updates immediately. When we are happy with our changes we make sure to click the Save button close to the top right.
Using a custom container
When we have saved our new container, we can access it in our air load plans, like any other equipment.