Cargo-Planner Docs
Preferences
The general functionality of the tool can be customized in a few ways. The settings can be set up in 3 differnt ways:
- Each user can manage their own separate preferences
- Each company / organization can set up some default preferences which all users can override
- Each company / organization dictates all preferences and users cannot override those
For scenario 1 preferences are managed through your account settings found under “My account” (available when you click on the menu in the upper right corner)
Scenario 2 and 3 are managed through the Company settings view:
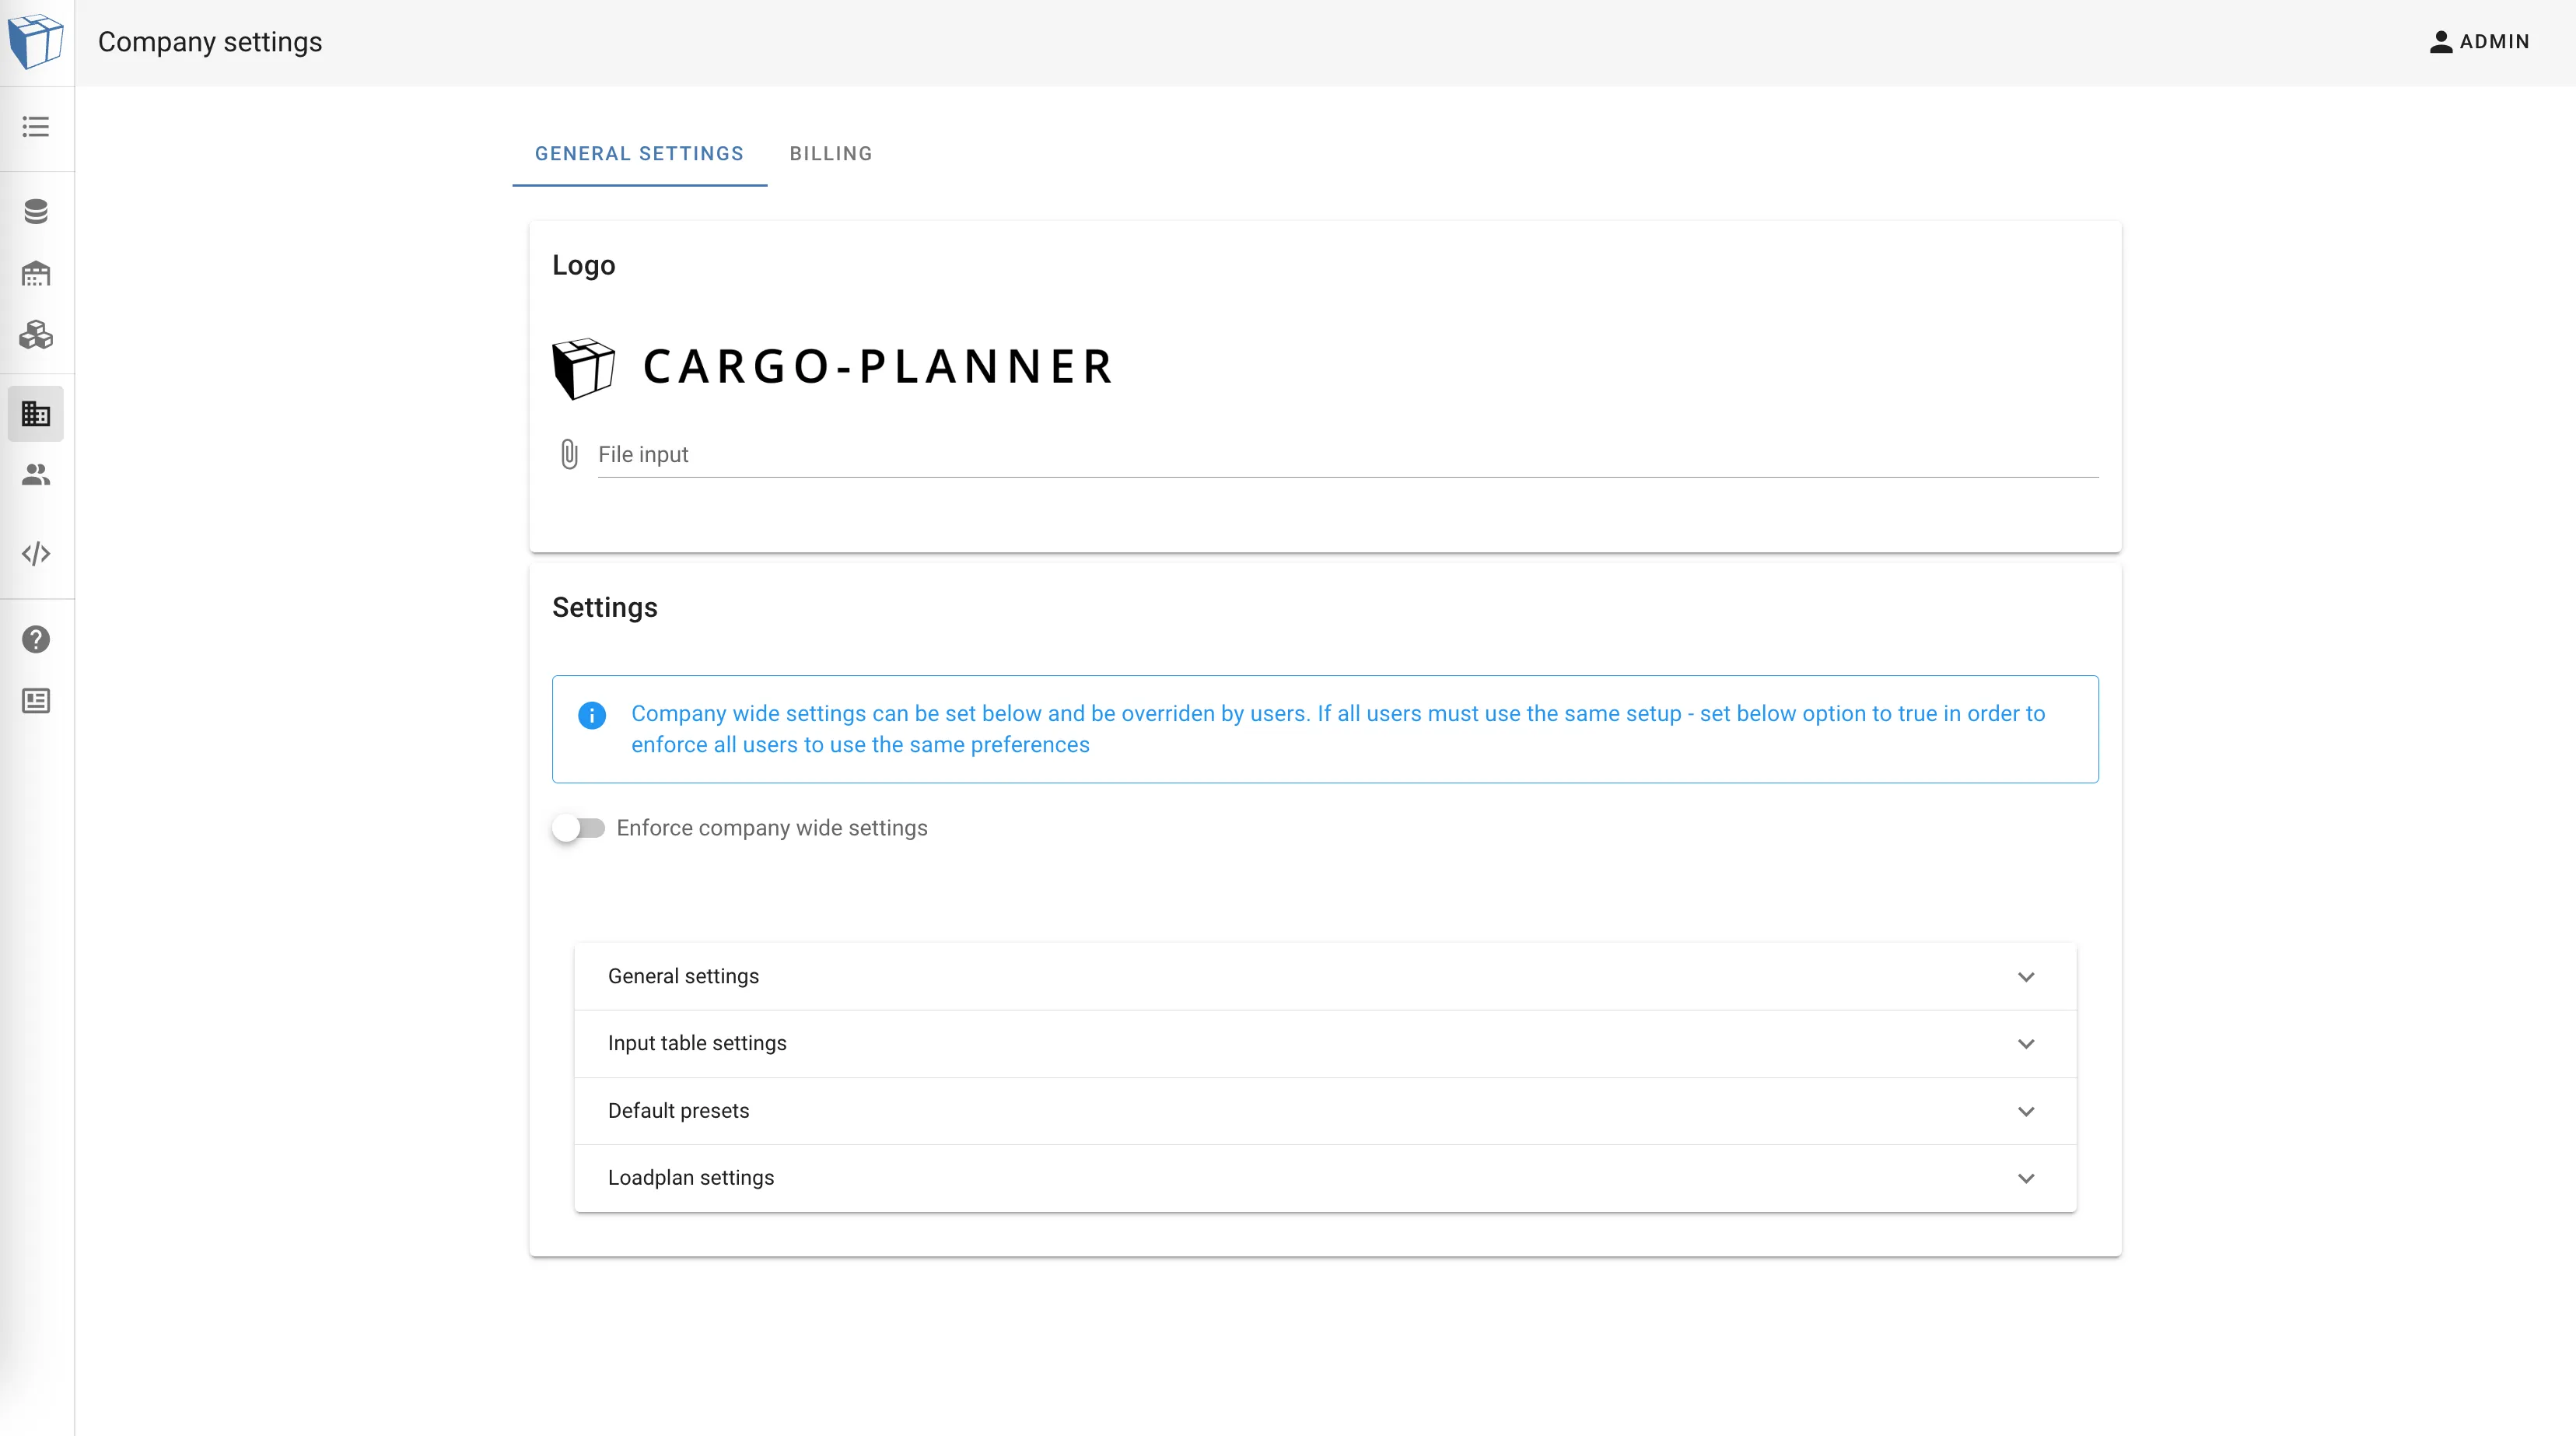
To set Company settings you need to have the Editor or Administrator role
If you enable the “Enforce company wide settings” - then scenario number 3 above will be activated.
General settings
Length / Weight unit
You can change which length and weight unit you want to use when displaying and entering lengths and weights. If you are used to imperial units - change the Length unit to “IN” and weight unit to “LB”
Default data length / weight unit
When creating new load lists you have to select which dimension the provided numbers are in. Even though you use for example CM / KG as your length and weight units, you might receive a packing manifest containing data in IN / LB. However, if the layout of the data is always the same, it can be tiresome to select the same dimensions every time - and this is what those settings are for!
Default graphics view
The Default view will determine which perspective you want by default when showing the graphics for a container. Maybe you prefer to see the containers from the side instead?
Set item color based on property
Select which item property should be used to assign colors to - meaning items with the same property value will get the same color. Useful if you for example easily want to distinguish cargoes belonging to the same shipment
Cargo labels
Customize the cargo labels to suit your preferences. By default, the cargo name will be printed on each cargo. You have the option to select additional labels to display as needed. Deselect all to hide all text.

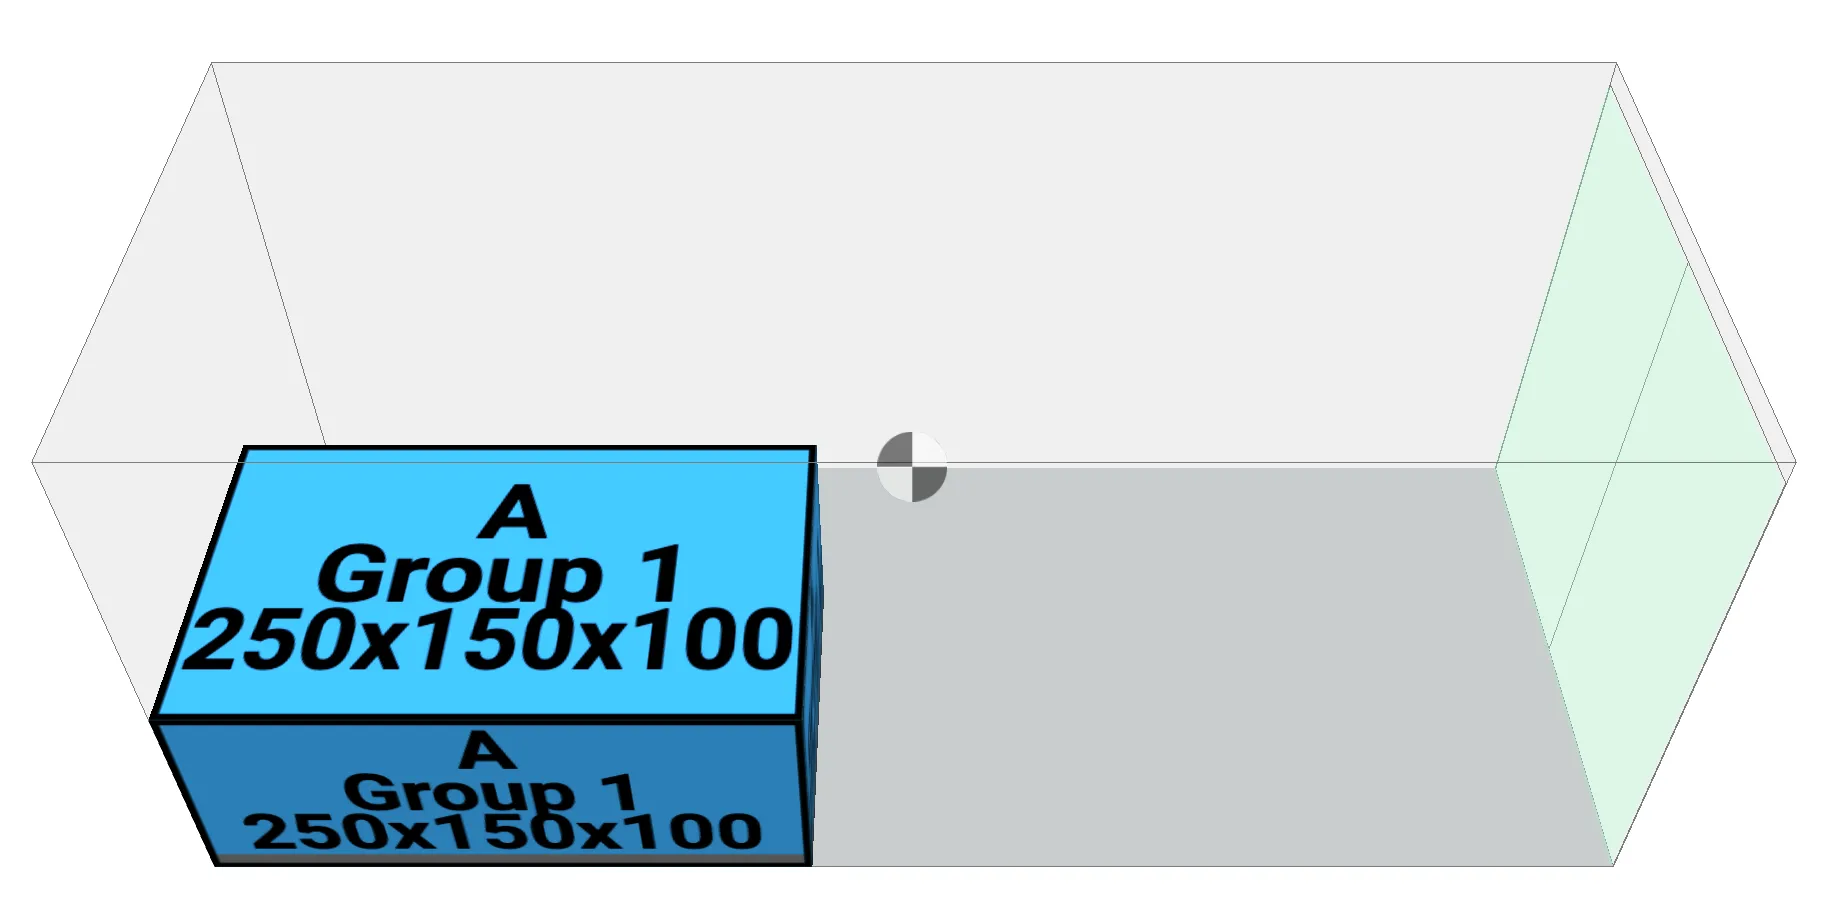 Here is an example demonstrating the display of cargo name, group/consignment and dimensions on a cargo.
Input table settings
In this section you will find settings applicable for the Cargo input view
Visible columns
If there are some columns you never use please feel free to select which columns you want to be visible here
Custom columns
This is a very useful feature. Sometimes you might have some custom metadata that you want to attach to each cargo (comments, purchase orders and other properties), then you can create a custom column for these properties.
Custom columns can also be referenced when using Custom rules and be read from Excel files!
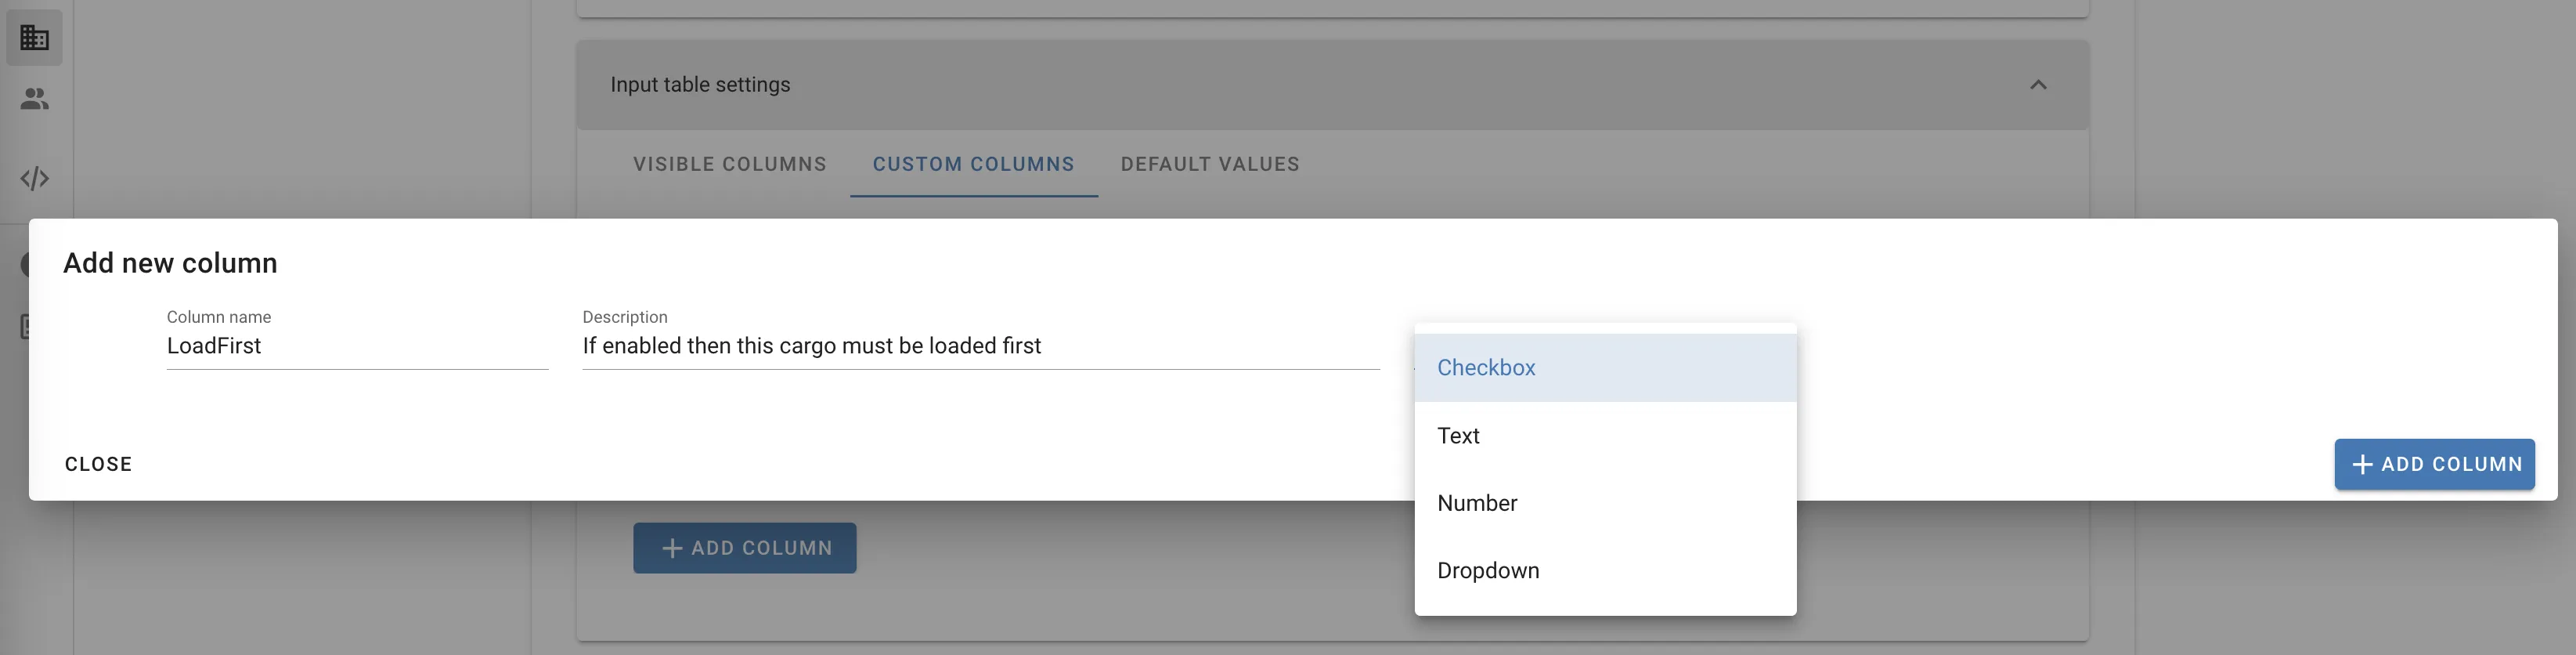

- Use the “Checkbox” input type if the property is of true / false characteristic
- Use the “Text” type if the property is a string
- Use “Number” if the type is numeric (those values will also be summarized in the load plan table)
- Use “Dropdown” if a property can have several alternatives.
When using the Dropdown input type you add the alternatives separated by a comma like: type1, type2, type3 etc
Default values
Here you can default values for some of the columns. If you for example always use Not stackable cargoes - you can set that here which means all rows will by default have Not Stackable set to true
Default presets
Load presets are used to predefine settings, container types etc used when creating a load plan. Here you can define which preset should be the default one for each mode of transportation.
Loadplan settings
Here you can set which columns you would like to have visible in the load plan view.