Cargo-Planner Docs
Cargo properties
Each cargo has a list of properties that can be assigned to it which may or may not affect the load plan. You assign properties in the 1. Data view

SKU
Unique identifier of the cargo. Will automatically be set to an auto increasing number of not specified
Name
Name or description of cargo. Will be set to SKU of not specifieed
Length
Length of cargo
Width
Width of cargo
Height
Height of cargo
Weight
Weight of cargo per piece
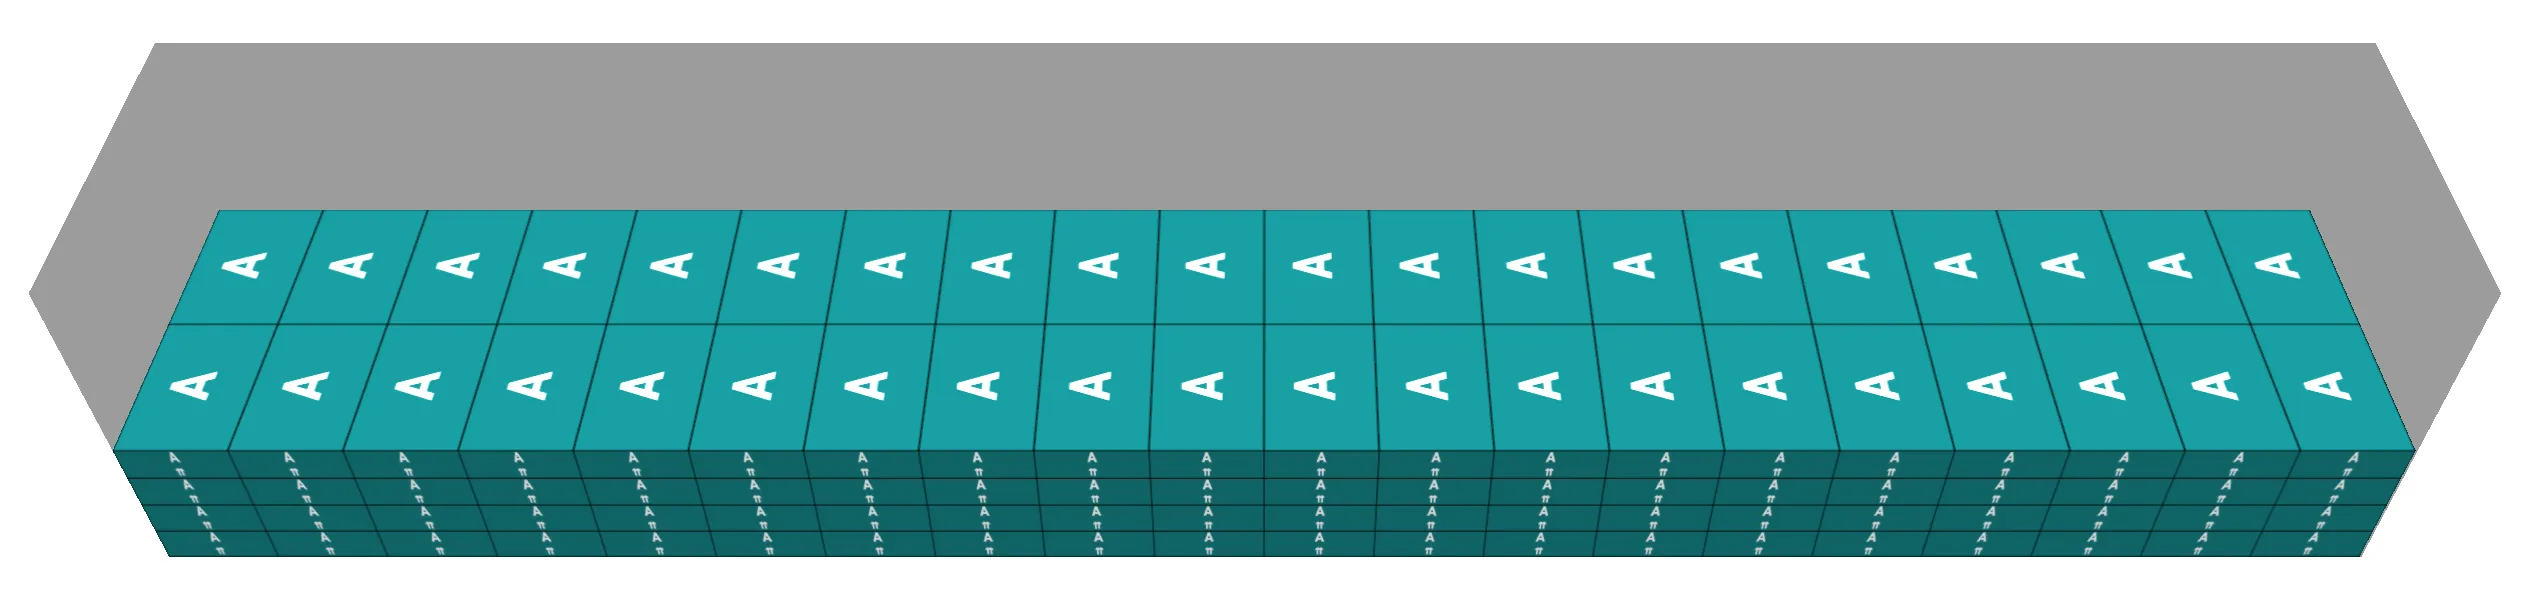
Quantity
Depending on values in this field - one of three different calculation modes will happen:
- If all rows has a quantity set, then the tool load the cargoes in as many containers as is necessary
- If no rows has a quantity set - then the tool will try to fit as much as possible into one of the selected containers.
- If some rows has a quantity set and some has not - then the tool will load the cargoes that has a quantity set in as many containers as needed - and then use the items that has no quantity set as “fillers”
Not stackable
If checked, then no cargo (including itself) is allowed to be put on top. The cargo itself is however allowed to be put on other cargoes which are stackable.
Bottom only
If checked then this cargo must be loaded at the bottom on the floor. If nothing else is specified then other cargoes can still be loaded on top of this cargo
Orientations
Used to specify in which orientations the cargo can be loaded. Avaialable options are based on the geometry of the cargo. Read more about it under the orientations section.
Max Layers
If a layer option is provided for a cargo (a number) it means that this cargo can only be stacked up to a certain amount of times (layers).
Max load
Max weight (in dimension specified by loadlist) that is allowed to be loaded on top of a cargo
Geometry
- Box
Default geometry of the cargo.
- Cylinder
A cylinder laying down. The Height and Width will be the diameter.
- Hollow Cylinder
A pipe width outer diameter set under “Length” and inner diameter set under “Width”.
Color
The color of a cargo. If no color is provided it will be set to a random color.
Group / Consignment
Different cargoes can belong to the same group / shipment / consignment. If you enter a ID (number or text) then cargoes with the same ID will be loaded together.
Note that by default cargoes with different group ID’s will be loaded into different containers. If you want to allow cargoes with different ID’s to be loaded into the same containers you can change this behaviour in the Load settings
Class
Used for adding custom classes to your cargo. Classes can be used together with a segregation table to separate loading of certain cargoes.
Preload
If this cargo should be pre loaded on a pallet or box (secondary equipment) before being loaded into the container - check this to true
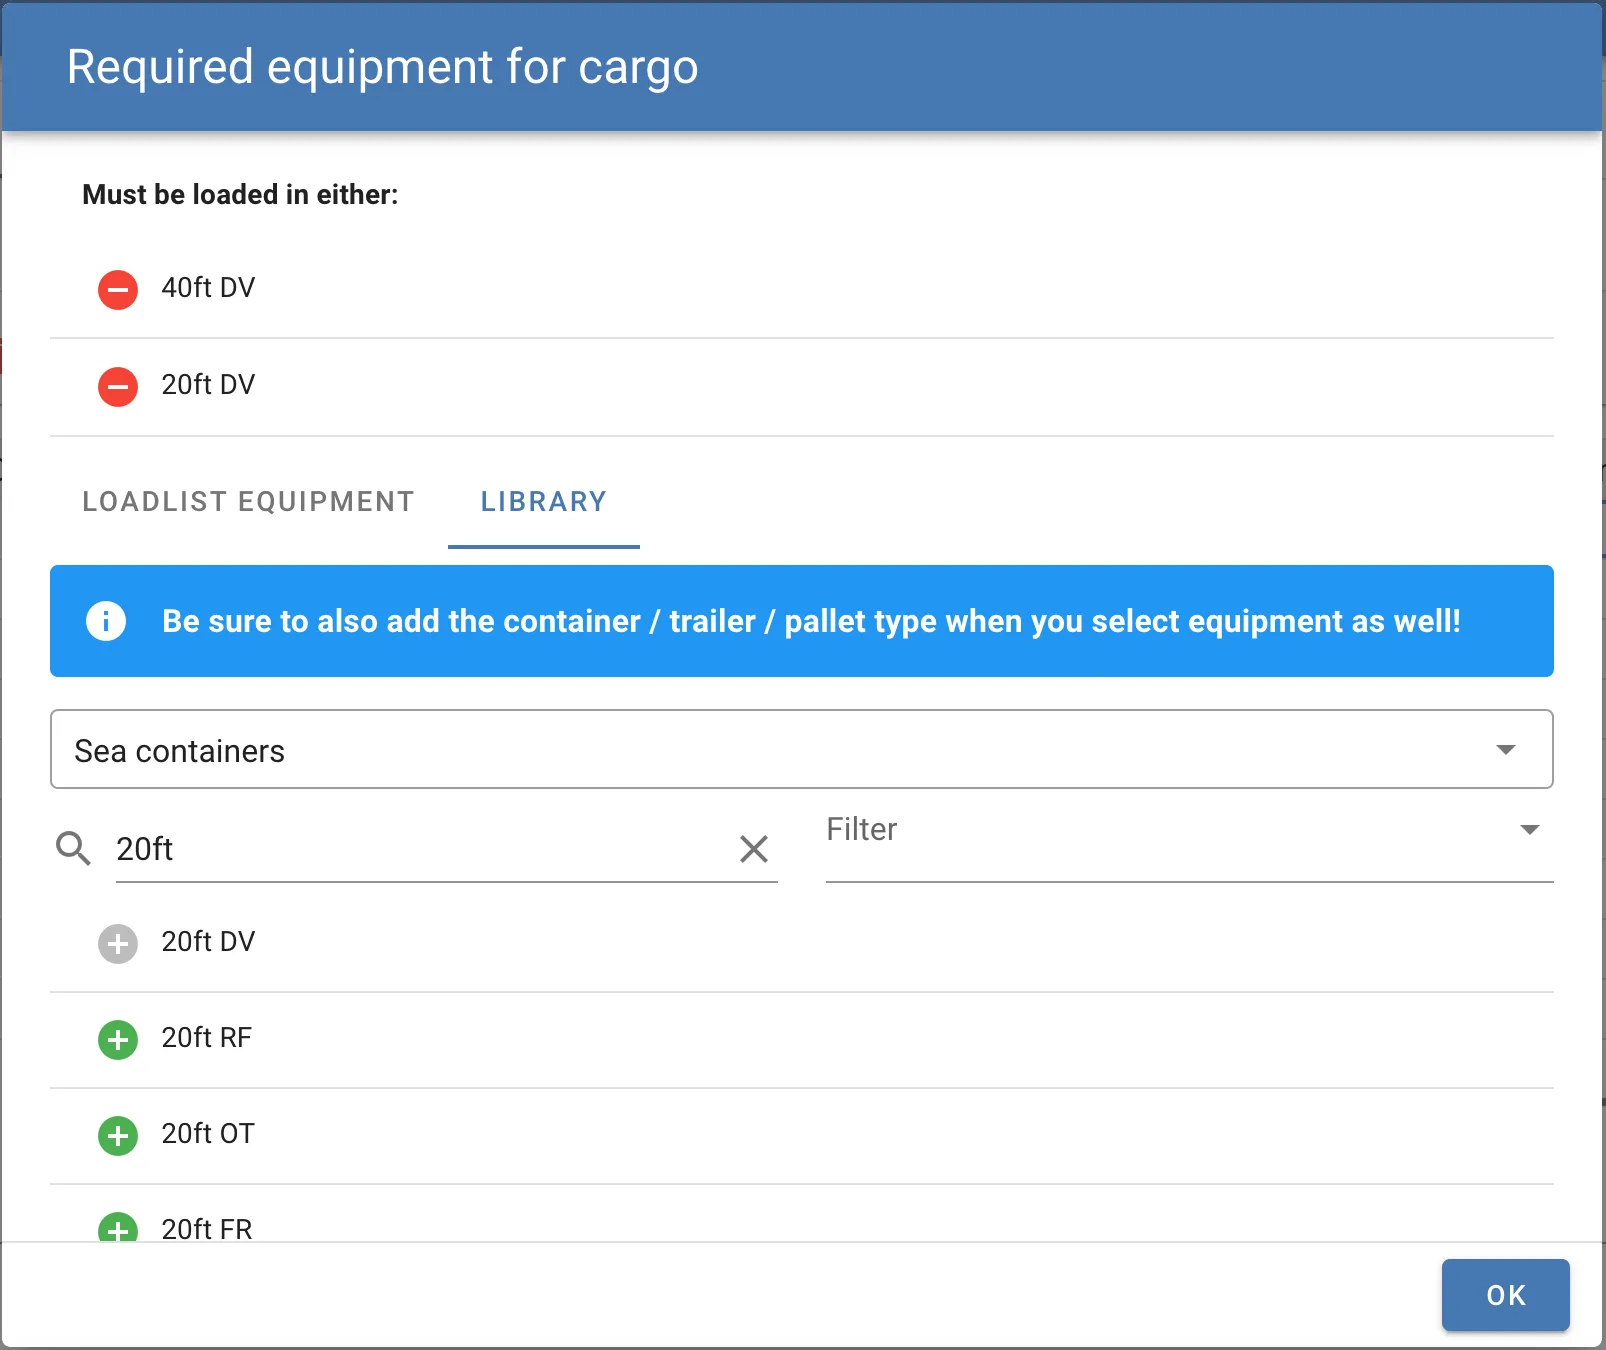
Load in
If a cargo needs to be loaded in a specific container type then double-click in this column and a new dialog will be shown where you can select the allowed equipments. Equipments can be selected from the loadlist or the equipment library.
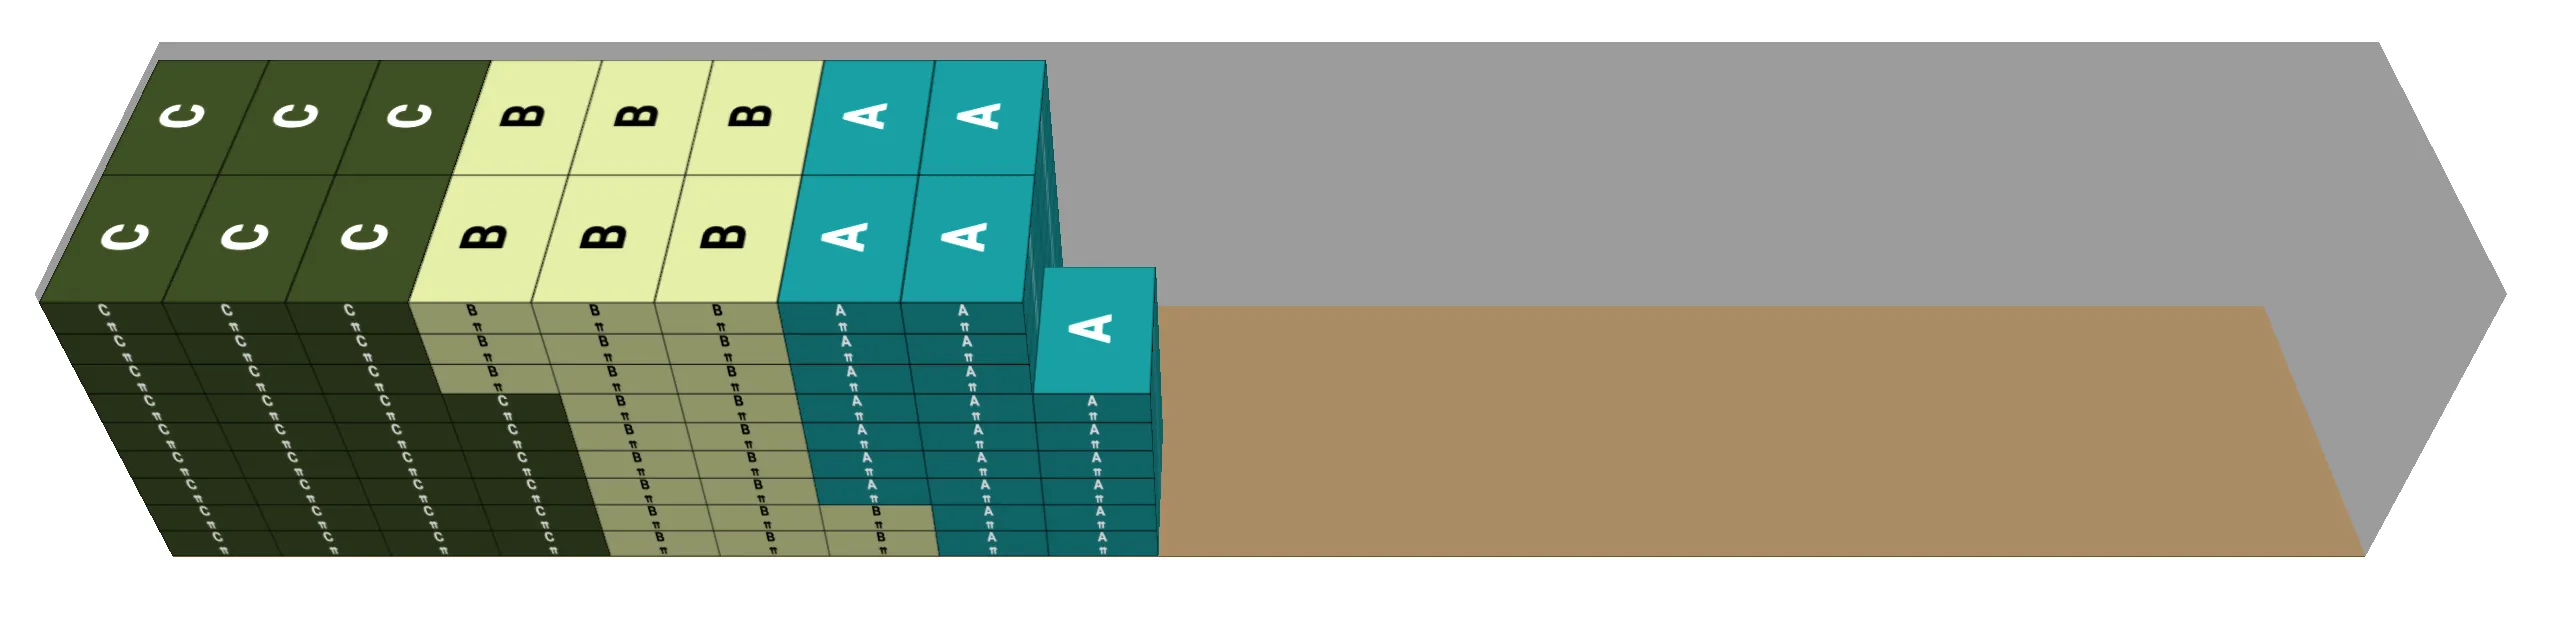
Priority
If cargoes should be loaded in a particular order you can use the Priority column. Here we have three different cargoes with three different priorities.

A cargo with a higher priority will be loaded before a cargo with a lower priority
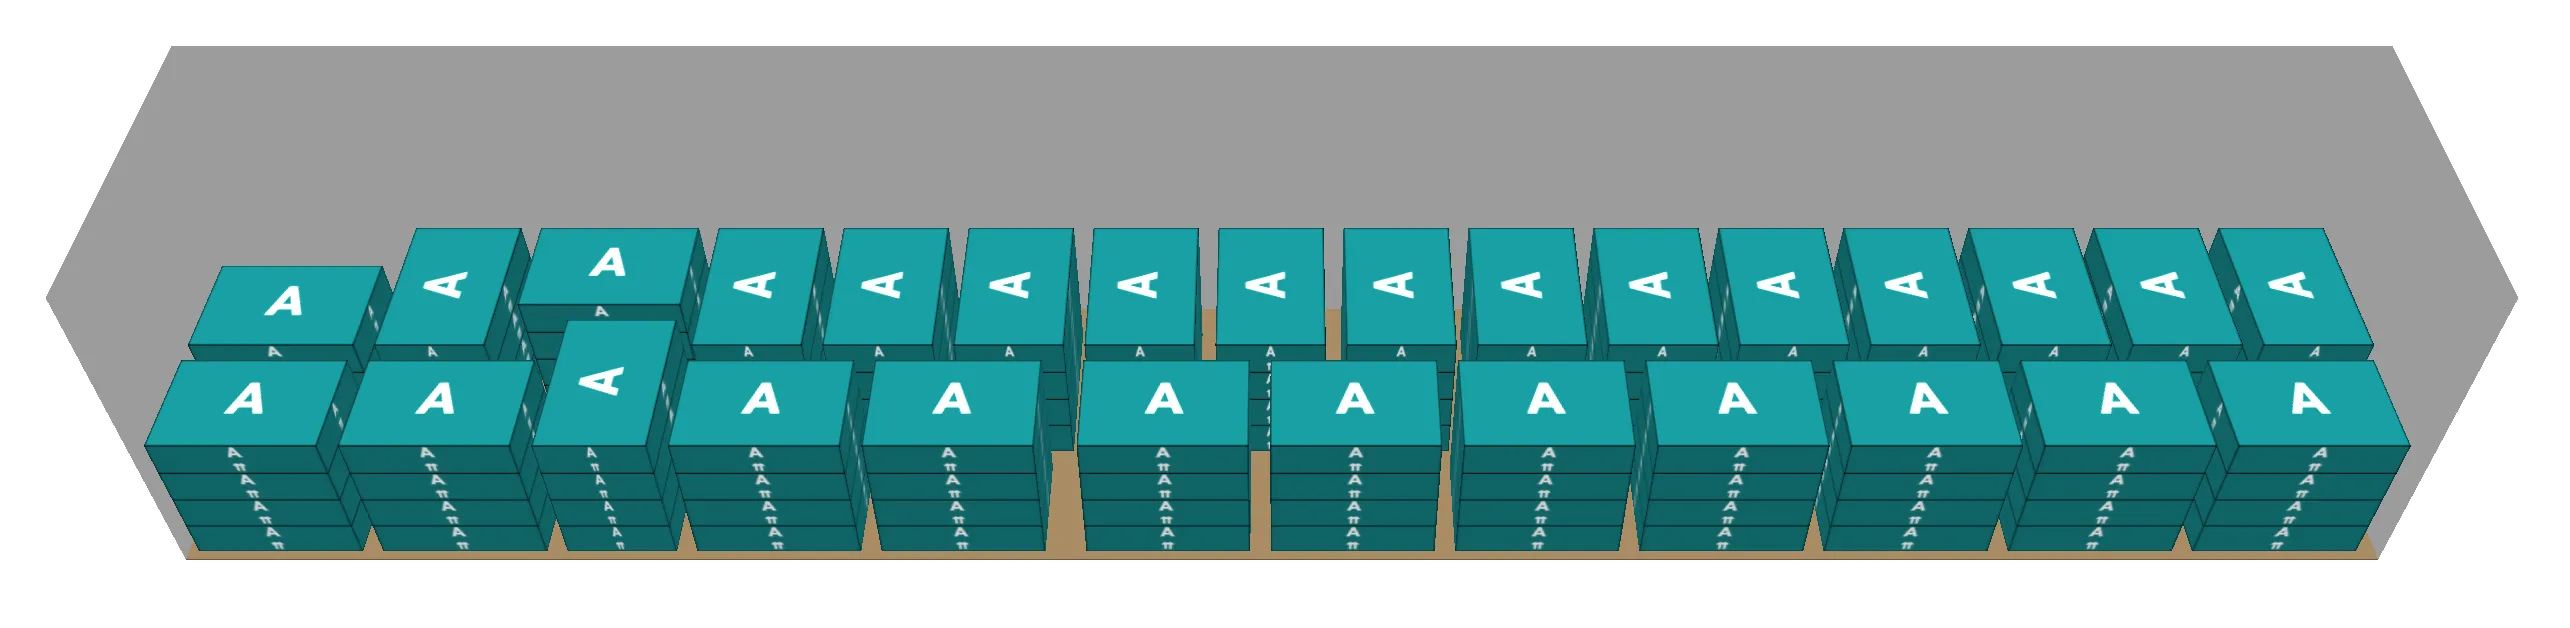
Margin
A distance around the cargo that will act as “free space”. Enter a number here if your cargo needs extra room for lashings or other purposes
Bundling
Bundling of cargo is useful to specify how a group of a particular cargo can be organized and packed in a set. Read more about it under the bundling section.
Destination
The assigned geographic destination for the cargo. Free text field that supports input such as country, city, zip code and street. See routing for more information about this feature.
Examples:
-
France
-
Main St, San Francisco
-
211 30, Sweden